
6 min read ·
Yes—E6000 Can Fix Some Rubber-Sole Separations
Best for a small lifted edge, toe, or partial gap on compatible rubber. Keep the repair immobilized and unworn for 48–72 hours.
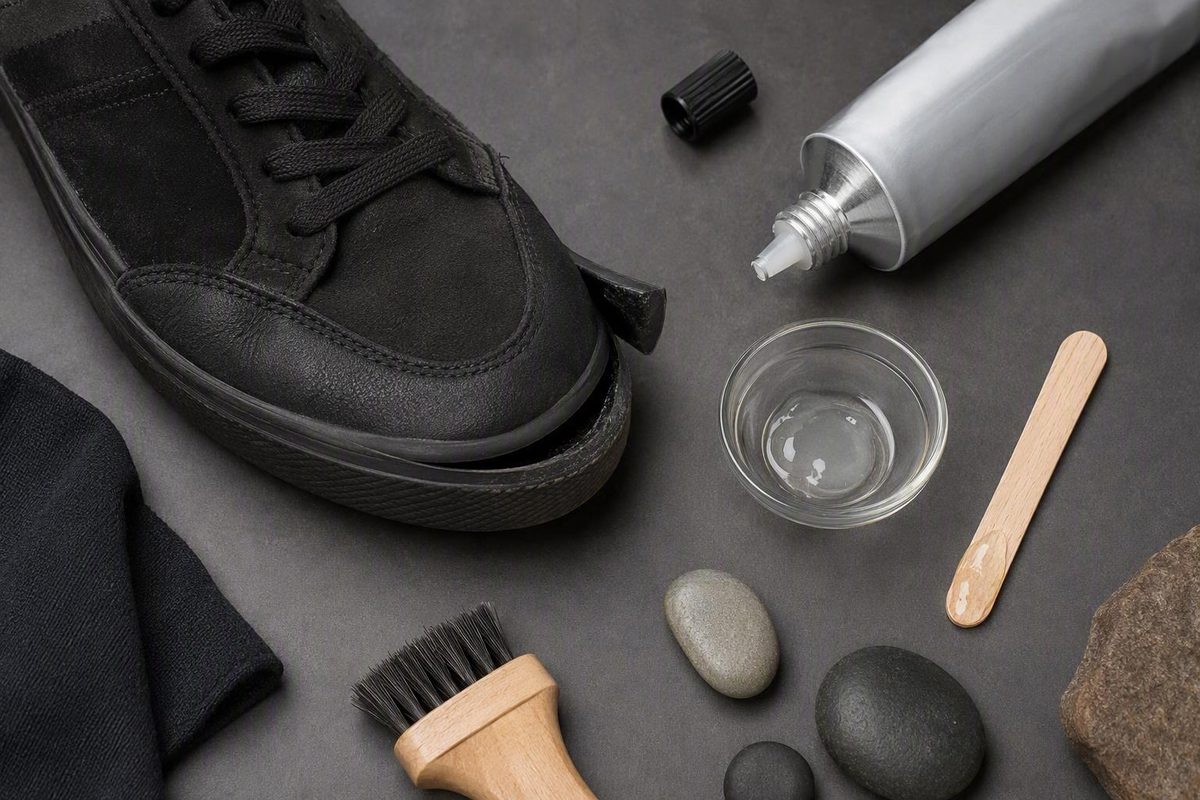
Assuming “rubber soul” means a rubber shoe sole, E6000 can be a reasonable adhesive for a small lifted edge, separated toe, or partial gap on a compatible rubber surface. It is a less dependable DIY choice for a completely detached outsole, a multi-layer failure, or footwear whose failure could cause injury. Preparation and restraint matter, and the repaired shoe should remain unworn for 48–72 hours, the manufacturer’s stated cure period for a thick film or maximum strength (E6000 Craft Adhesive technical data sheet).
The short answer: E6000 can work, but not on every sole
E6000 Craft Adhesive is documented by its manufacturer as adhering to rubber. E6000 Shoe Dazzle also explicitly lists rubber and flip-flops as compatible shoe surfaces, although that formulation is primarily presented for attaching decorations rather than structurally reattaching an outsole (E6000 Shoe Dazzle technical data sheet).
The manufacturer reports 10 PLI rubber adhesion under ASTM D1876 T-peel testing for E6000 Craft Adhesive. That result documents general rubber adhesion, but it is not a footwear wear test. It does not establish how long a repair will survive repeated walking, sole-edge peeling, abrasion, water exposure, or thousands of flex cycles.
In practical terms, E6000 is most suitable when:
- Only a small edge or toe area has lifted.
- Most of the outsole remains securely attached.
- The two sides fit together without force or a large gap.
- The sole material is known to be compatible.
- The shoe can be immobilized for several days.
Treat a completely detached outsole differently.
Check the sole material and repair type before gluing
Appearance alone does not confirm compatibility.
| Repair condition | Best next step | Why |
|---|---|---|
| Minor separation on known compatible rubber | E6000 is a reasonable option | A small, well-fitting joint is easier to prepare and restrain |
| Unknown sole material | Check the shoe maker’s information and test a hidden area | Adhesion and possible finish damage vary by material |
| Complete, complex, or safety-critical separation | Use a dedicated sole adhesive or consult a cobbler | Large or structural failures face greater peel and flex stresses |
E6000 Craft Adhesive is not recommended for polyethylene or polypropylene and may damage some finished surfaces. Test a small, inconspicuous area before proceeding. Shoe Dazzle carries the same polyethylene and polypropylene exclusions and also directs users to test first.
Identify the exact tube in hand before starting. “E6000” is a brand family, not one interchangeable formula. Craft Adhesive and Shoe Dazzle have different solvents, tack times, directions, and safety considerations. Follow the label for the specific product rather than transferring instructions from another E6000 formulation.
How to glue a partially separated sole with E6000
The best technique is controlled rather than generous: prepare the surfaces, dry-fit the joint, apply only what is needed, and maintain full contact while the adhesive cures.
-
Open the gap only as far as necessary. Do not pull aggressively on an attached section of the sole; doing so can enlarge the failure.
-
Remove contamination and loose adhesive. Brush away dirt and carefully remove only old glue that is already loose. Avoid gouging foam, cutting stitching, or damaging the upper.
-
Leave both surfaces clean, grease-free, and completely dry. Moisture, dust, skin oils, and degraded adhesive can prevent contact with the actual sole and upper materials.
-
Lightly roughen smooth areas where permitted. Fine abrasion can improve the bonding surface, but skip it if the exact product instructions or a delicate shoe material make abrasion inappropriate. Remove all resulting dust.
-
Dry-fit the sole. Press the parts together without adhesive and establish their correct alignment. Prepare tape, rubber bands, clamps, or weights before opening the tube.
-
Apply the exact formulation as labeled. For E6000 Craft Adhesive, the manufacturer directs users to apply adhesive to both surfaces, wait approximately two minutes, join the parts, and apply enough pressure to create full contact. Other E6000 formulations may have different directions.
-
Wet the joint without flooding it. A uniform bond line is preferable to a large bulge of adhesive. An unnecessarily thick layer is harder to contain and requires longer to cure.
-
Secure the repair without distorting the shoe. Tape can restrain a lifted toe edge, while rubber bands may provide even pressure around some shoes. Padded clamps can suit accessible edges, and weights can help if the shoe sits level. Confirm that the sole has not shifted.
-
Handle accessible squeeze-out according to the product label. Do not improvise with a strong cleaning solvent that could smear the adhesive, attack the sole, or damage the upper.
Keep adhesive away from visible surfaces wherever possible. Masking beside the joint may help control squeeze-out, provided the tape does not interfere with full contact.
Wait for full cure—not just tack or set
Tack, set, and full cure are different stages. A joint that stops sliding after a few minutes is not necessarily ready to carry body weight, flex through a walking stride, or resist peeling at an exposed edge.
The manufacturer’s technical sheets specify 24 hours for a thin film and 48–72 hours for a thick film or maximum strength. They also give an ideal application range of 50–90°F (10–32°C). Temperature alone cannot ensure a successful repair; bond thickness, humidity, preparation, and the joined materials also affect curing.
For a shoe sole, use the conservative schedule:
- Keep the repair aligned and immobilized.
- Leave the shoe unworn for 48–72 hours.
- Do not test it early by repeatedly bending or pulling the edge.
- Avoid water and demanding use until the full cure period has passed.
- Inspect the entire bond line before wearing the shoe.
If the joint contains a gap and therefore needs a thicker adhesive layer, favor the longer end of the cure range. Adhesive should not be used to disguise missing sole material or major distortion.
When a shoe-specific adhesive or cobbler is the better choice
Walking repeatedly bends a shoe while applying peel stress at the outsole edge. Flexibility and resistance to progressive edge lifting are therefore particularly important in sole repair.
Flexible, shoe-specific products—including neoprene cement and urethane shoe adhesives—are commonly used for bonding rubber soles. No cited controlled head-to-head test establishes that one adhesive is universally stronger or more durable than E6000 across all sole compounds and shoe designs. Material compatibility, joint geometry, preparation, and use conditions can change the result. A shoe-repair company’s overview of sole adhesives describes neoprene cement and urethane as flexible options for rubber repair.
Choose a purpose-designed sole adhesive or a cobbler when:
- The entire outsole has detached.
- Several shoe layers are separating.
- Material is missing or the joint has a large gap.
- Foam is crumbling or the sole has split structurally.
- The shoe rocks, twists, or feels unstable.
- Accurate alignment requires professional equipment.
- The footwear is valuable or difficult to replace.
Use additional caution with work boots, hiking footwear, athletic shoes, and protective footwear. A DIY bond may close the visible gap, but it does not demonstrate that the shoe’s original structural or protective performance has been restored. If another failure could cause a fall or compromise protection, retire the shoe or seek professional repair.
An individual forum user reported that an E6000 toe repair remained attached for more than a year despite frequent wetting. That anecdote shows that a partial repair can succeed, but it cannot predict another repair’s performance because the exact formulation, sole compound, preparation, and loading were not controlled (forum report).
Use E6000 with formulation-specific safety precautions
Read the container label and current safety data for the exact E6000 product before starting. Keep children and pets away from the application and cure area.
E6000 Craft Adhesive contains flammable toluene and petroleum-distillate solvents. Keep it away from flames, sparks, smoking, hot tools, and other ignition sources, as specified in the Craft Adhesive technical data sheet.
Do not transfer that solvent description to every E6000 product. The Shoe Dazzle technical data sheet lists perchloroethylene instead, illustrating why product-specific directions and safety information matter.
For a small separation on confirmed compatible rubber, E6000 is a plausible repair choice: clean and lightly roughen the joint where permitted, follow the exact formulation’s label, hold the sole in full contact, and allow the complete cure period before wear. If the material is unknown, the outsole is fully detached, or bond failure could create a safety problem, use a purpose-designed flexible sole adhesive or take the shoe to a professional.