
5 min read ·
Construction Adhesive for Wood: When to Use It and How to Apply It
Choose construction adhesive for wood by the second surface, joint gap and exposure. Check preparation, bead size, support and cure before bonding.
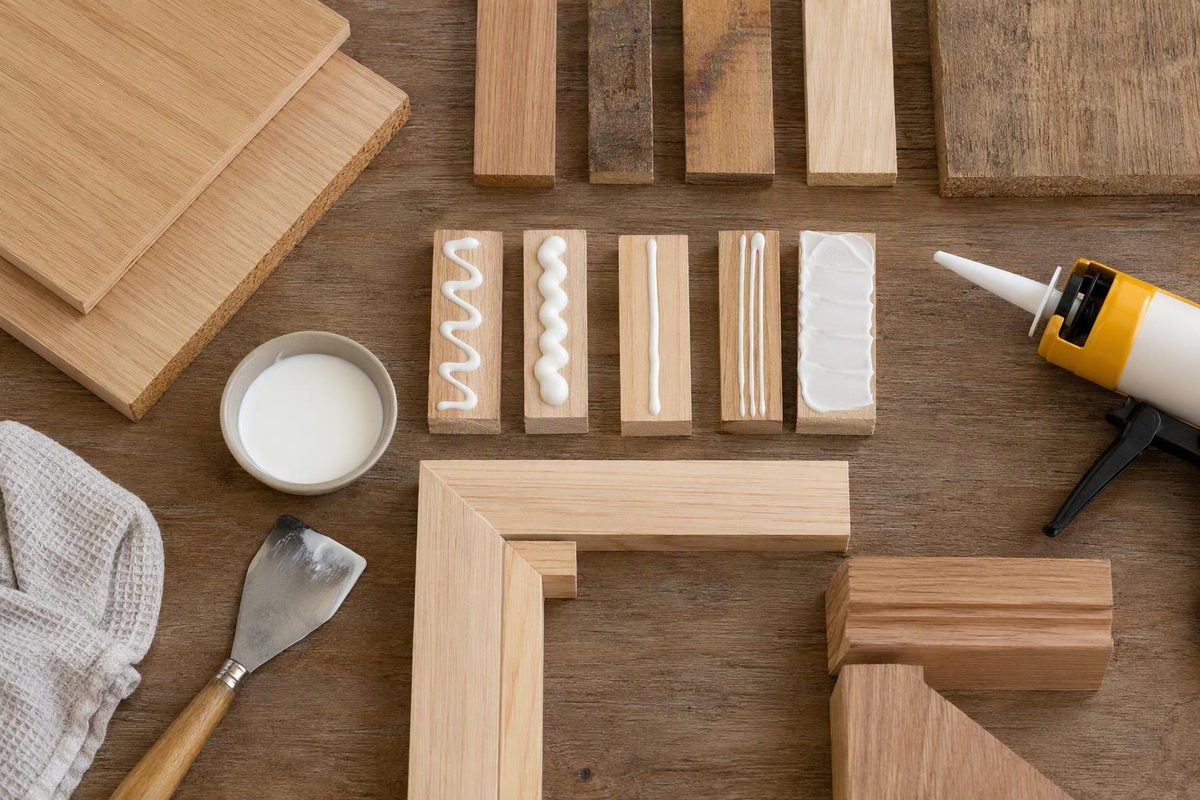
Construction adhesive suits wood installation jobs such as trim, panels and subfloor-to-framing bonds when the exact product approves both surfaces and the exposure. It is not automatically the best choice for a tightly fitted furniture joint, nor permission to omit required screws or nails.
Start with five details: the second material, joint gap, load, moisture and temperature. “Bonds wood” alone does not settle compatibility with painted drywall, treated lumber, metal or concrete.
Match the adhesive to the job
| Wood-bonding job | Starting choice | Main check before buying |
|---|---|---|
| Tight-fitting wood-to-wood joinery | Wood glue designed for the exposure | Can the joint be brought tightly together and clamped? |
| Interior trim or decorative panels against porous surfaces | Interior construction adhesive, including suitable water-based latex grades | Does it approve both materials, and must one surface be porous? |
| Wood attached to masonry or metal, or an exterior installation | Construction adhesive explicitly rated for that material pair and exposure | Check moisture limits, coatings, temperature and support requirements. |
| Plywood or OSB subfloor attached to wood framing | Subfloor-rated construction adhesive | Follow the floor system’s adhesive and fastener schedule. |
| Large gaps, badly warped pieces or safety-critical attachments | Correct the fit or specify an engineered fastening/bonding system | Do not treat a “gap-filling” claim as an unrestricted gap or load rating. |
The distinction is practical: Titebond III’s instructions call for enough clamping pressure to bring wood joints tightly together, while construction adhesives such as PL Premium list wood alongside multiple building substrates. See the dedicated wood-to-wood adhesive guide for joinery rather than installation work.
For subfloors, adhesive supplements fastening. APA describes its Glued Floor System as adhesive plus nails, used to reduce squeaks and nail popping and increase stiffness—not an adhesive-only floor assembly. Source: APA subfloor guidance.
Prepare the wood and plan the cure first
- Dry-fit and measure the gap. Make sure the parts can seat without relying on adhesive to restrain severe bowing. Check any published bond-line limit; bead diameter is not the same as allowable finished gap.
- Prepare both bonding faces. Remove dust, grease and other contamination, and reject loose or unsound surface layers. Power Grab requires clean, dry, structurally sound surfaces and sanding of glossy surfaces. PL Premium requires surfaces free of standing water, snow, ice and frost despite its wet/cold-use claims. Sources: Power Grab technical data sheet, PL Premium application specification.
- Check product, surface and air temperatures. An adhesive’s cured service-temperature range does not tell you when it can be applied. Power Grab’s sheet requires application and cure above 50°F (10°C); PL Premium has separate cold-weather instructions. Sources: Power Grab data, PL Premium specification.
- Arrange support before dispensing. Have clamps, braces or specified fasteners ready. Initial grab holds position; it is not proof that the joint is ready for service load.
- Protect the finish and plan cleanup. Test the specified cleaner on an inconspicuous area. Uncured Power Grab cleans up with soap and water; PL Premium specifies mineral spirits, with mechanical removal after cure. Follow the label/SDS for ventilation and skin and eye protection. PL Premium’s specification warns of skin and respiratory sensitization. Sources: Power Grab instructions, PL Premium specification.
Do not mist every construction adhesive with water. PL Premium specifies a very light mist onto the extruded adhesive when bonding two nonporous surfaces, in conditions below 30% relative humidity, or when bonding large sheet goods. This reduces its repositioning time to less than 15 minutes. Power Grab requires dry surfaces. Follow the exact formulation’s instructions. Sources: PL Premium directions, Power Grab directions.
Two documented options—not a universal ranking
These examples use Henkel’s U.S. product documentation; check the label and technical sheet for the exact product sold in your market.
Interior trim: water-based latex construction adhesive
Loctite Power Grab Express All-Purpose is an example for interior wood attachments to approved materials such as drywall, plaster, concrete or masonry. One surface must be porous; it excludes stainless steel and glass, and its technical sheet excludes permanently damp areas. Two sealed or coated surfaces therefore need a compatibility check rather than an assumption that the wood underneath makes the assembly porous. Sources: product instructions, technical data sheet.
For large items, apply adhesive around the perimeter approximately 2 inches (50 mm) from the edge, with additional beads at 6-inch (150 mm) intervals. Join within 15 minutes and press firmly. Do not interpret “instant grab” as instant cure: although the product page advertises a 12-hour cure, the manufacturer’s technical sheet, dated November 2016, warns that low-porosity applications may need 7 days or longer to reach full strength and lists full cure up to 14 days. Temperature, humidity, substrate porosity and adhesive quantity affect those times. Sources: product page, technical instructions and cure limits.
Exterior or mixed-material installation: polyurethane construction adhesive
Loctite PL Premium is a one-component, moisture-curing polyurethane construction adhesive rated for interior/exterior use. Its listed substrates include plywood, OSB, MDF, concrete and certain metals. Water resistance does not mean suitability for continuous submersion or marine use. Its exclusions also include Ipe and composite decking; pressure-treated lumber must be well seasoned for at least six months of weather exposure under Henkel’s specification. Source: PL Premium specification, May 2023.
For ordinary application, apply to one surface, press the parts together within 15–20 minutes and use mechanical support for 24 hours. The manufacturer-hosted technical sheet, dated December 2019, lists 24–48 hours cure at approximately 25°C (77°F) and 50% relative humidity, with cold or low humidity slowing cure. Source: PL Premium technical data sheet.
For its subfloor application, Henkel specifies a continuous 1/4–3/8 inch (approximately 6–9.5 mm) bead on framing, applying only enough for one or two panels and positioning and fastening each within 15 minutes. Those dimensions are application instructions—not a general gap allowance for every wood joint. Follow the floor system’s detailed gluing and fastening schedule. Source: PL Premium subfloor directions. For attachment to a slab rather than framing, use the wood-to-concrete selection guide.