
4 min read ·
How to Glue Acrylic Together: Edge Preparation, Application and Cure
Glue acrylic with cement matched to the joint fit. Follow edge preparation, capillary application, support and cure steps, and troubleshoot cloudy seams.
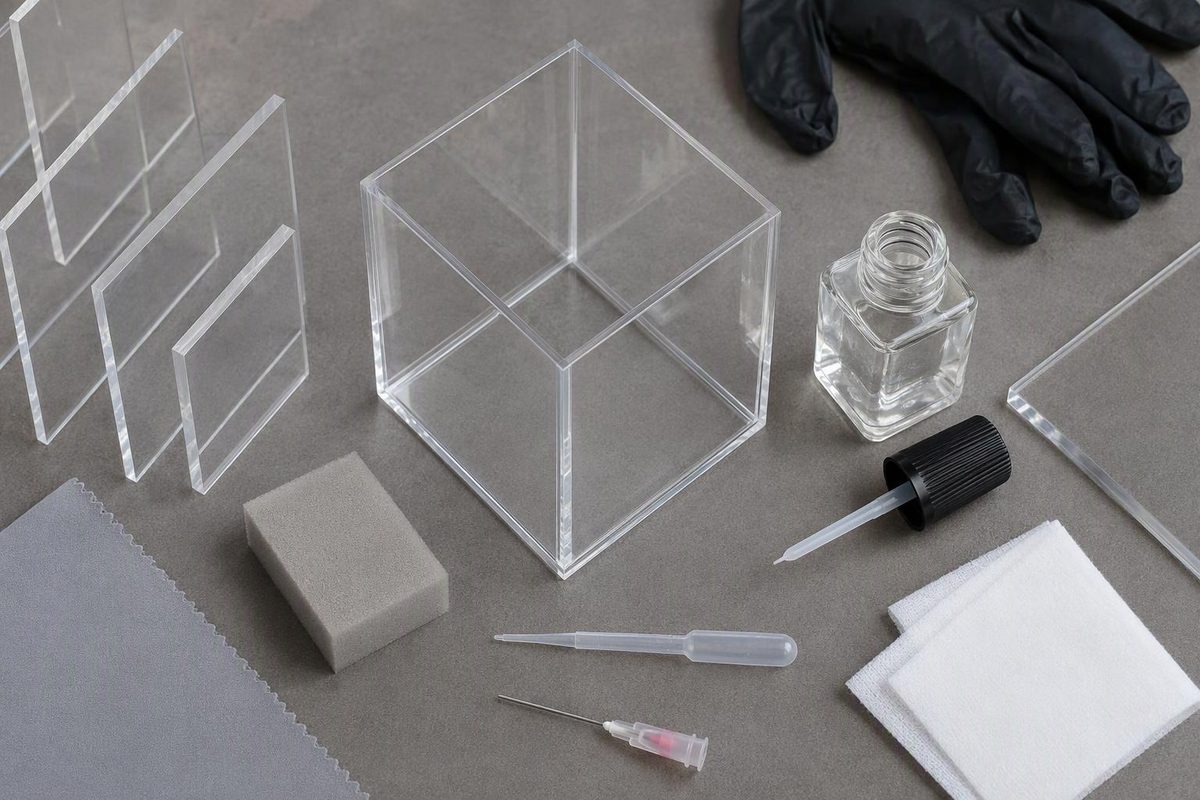
For close-fitting acrylic-to-acrylic joints, use an acrylic-compatible solvent cement applied by capillary action. Prepare flat, square edges, hold the pieces in alignment, feed cement into the seam and leave the assembly undisturbed while the bond develops. Solvent cement softens the mating surfaces and fuses them as the solvent dissipates; it is not simply a layer of glue between the pieces. Weld-On’s technical guidance describes this process.
First confirm that both parts are acrylic—PMMA, or polymethyl methacrylate—from the supplier’s specification. Do not choose cement solely because the plastic is clear. Check compatibility with the particular sheet grade, including any coatings or modified acrylic formulation.
Match the cement to the joint
- Flat, closely mating edges: use a low-viscosity acrylic solvent cement suitable for capillary application.
- Small gaps or a seam that is difficult to reach: use a compatible viscous acrylic cement. Apply it to a mating surface before assembly rather than feeding it into an already assembled seam.
- Large gaps, missing material or parts that must be forced together: correct the fit or redesign the joint first. A thicker cement is not a substitute for suitable joint geometry.
ACRYLITE’s cementing manual supports capillary cementing for well-fitting parts and viscous cementing for small gaps or inaccessible joints. For other adhesive options or a second material, see choosing acrylic glue by joint fit.
Check intended use before buying. As of October 2026, the Weld-On 4 and 16 DCM/TCE-free technical sheets specify industrial and professional use only—not consumer use. They are professional examples, not default recommendations for home projects. Use a product whose label permits your intended application and setting. Weld-On 4 TDS, Weld-On 16 TDS
Prepare the workspace
Gather the approved cement, a compatible applicator, a square, a supporting jig or clamps, and scrap from the same acrylic sheet for a trial joint. Check the cement’s permitted application temperature before starting.
Read the cement’s safety data sheet before opening it. Provide the specified ventilation, eye protection and chemically suitable gloves; keep solvent away from ignition sources. “DCM/TCE-free” does not mean harmless: Weld-On 4’s matching SDS classifies it as highly flammable, capable of serious eye damage and suspected of causing cancer. If you cannot meet the product’s handling requirements, have a fabricator make the joint. Weld-On 4 SDS
Glue a close-fitting acrylic seam
1. Make the edges flat and square
Dry-fit the parts before adding cement. They should meet evenly without bending or force.
Machine rough, chipped or melted edges; if machining is unavailable, wet-sand against a flat block to preserve squareness. Do not polish the bonding edges. Polishing can round them and weaken contact, while flame-polished edges may craze when exposed to solvent. Heat-bent or otherwise highly stressed parts may need manufacturer-specified annealing before bonding. ACRYLITE preparation guidance
2. Clean and dry the bonding area
Remove protective masking from the mating surfaces. Wash with mild soap or detergent and water, rinse thoroughly and let the parts dry completely.
Do not default to an acetone or alcohol wipe. ACRYLITE specifically warns against these solvents, window-cleaning sprays and paint thinner for pre-bond cleaning because they can cause crazing or surface damage. ACRYLITE cleaning instructions
3. Support the assembly
Use a jig or suitable clamps to keep the pieces aligned, with the seam horizontal where practical. Hold them lightly together for capillary application; do not squeeze the joint shut before the cement can enter. If the sheet manufacturer’s procedure specifies spacing shims, follow its shim size and removal instructions. ACRYLITE’s capillary procedure uses shims, while Weld-On 4’s instructions describe placing parts lightly together.
Rehearse the applicator movement on scrap. For a right-angle joint, check squareness before cementing rather than trying to correct it after the surfaces soften.
4. Feed cement into the seam
Following the product’s directions, place the applicator at the edge of the joint and dispense cement so capillary action draws it between the mating surfaces. The aim is to wet the interface, not coat the visible faces.
Allow the specified softening interval, then apply the directed contact pressure and keep the parts still. Weld-On 4’s capillary instructions, for example, call for a few seconds of softening before pressing the parts firmly together. Do not transfer that timing to another formula.
5. Separate initial set from usable strength
A seam that holds its shape is not ready for normal loading. Keep it supported for the product’s fixture period, then follow its handling and cure instructions before machining or use.
For reference, the professional Weld-On 4 DCM/TCE-free TDS lists 1–2 minutes working time and 3 minutes fixture time at 73°F (23°C). Its directions describe further strength development over 24–72 hours, with additional gains for several weeks. These are product-specific figures, not universal acrylic cure times or permission to load every joint after a fixed interval. Weld-On 4 TDS
If the joint looks wrong
| Symptom | Check before the next attempt |
|---|---|
| Bubbles or an uneven seam | Edge flatness and squareness; consider a compatible viscous cement for small fit irregularities. |
| Fine cracks near the seam—crazing | Fabrication stress, melted cutting edges, flame polishing or incompatible cleaners. |
| White or cloudy seam | Cement condition; ACRYLITE identifies water contamination and rapid evaporation as possible causes. |
| Weak joint | Poor contact or cement altered by improper storage and solvent evaporation. |
These checks follow ACRYLITE’s troubleshooting guidance. Correct the cause on a scrap trial rather than adding more solvent to a damaged seam. For tanks, overhead parts or load-bearing assemblies, obtain application-specific design and bonding guidance: a clear-looking joint alone does not establish safe capacity.