
5 min read ·
Best Glue for Acrylic Plastic: Match the Adhesive to the Joint
Choose acrylic glue by joint fit, appearance and the second material. Compare solvent cement, epoxy and super glue, with preparation and cure guidance.
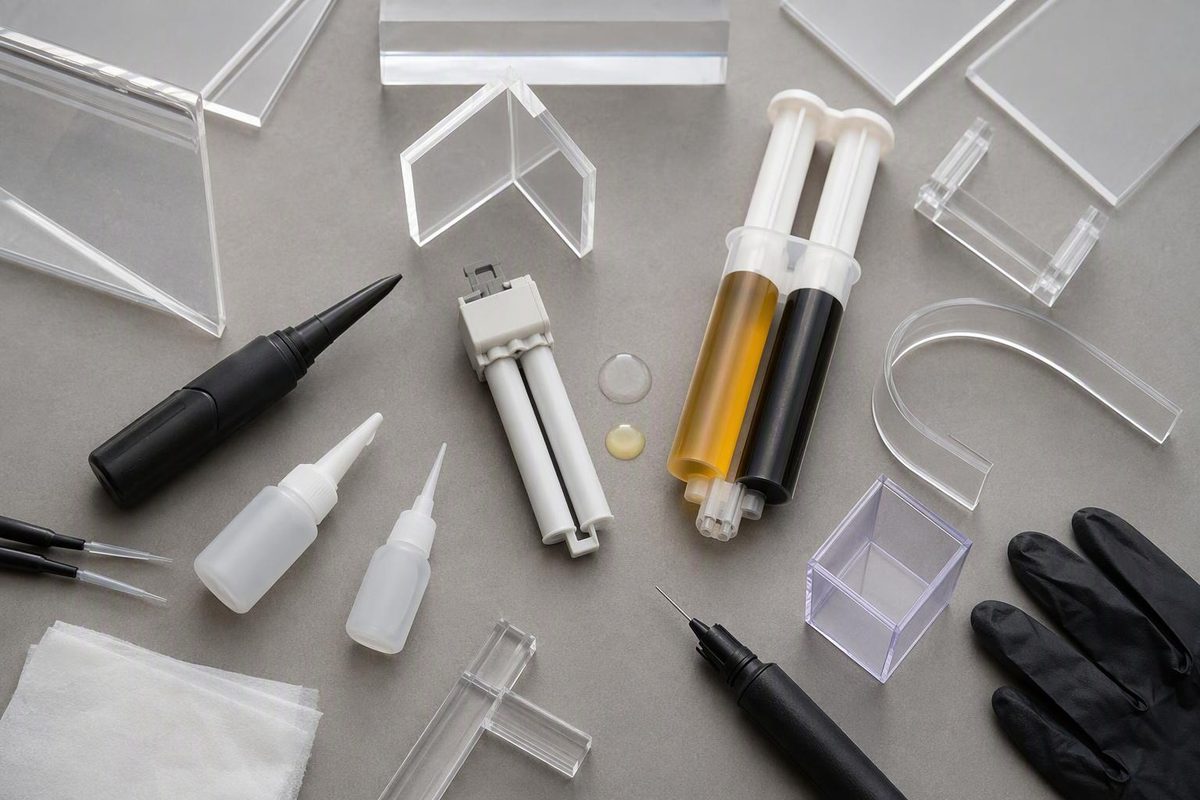
For close-fitting acrylic-to-acrylic joints, an acrylic solvent cement is usually the best starting point. It softens the mating surfaces and fuses them together as the solvent dissipates. For a gap or a second material, consider an acrylic-compatible two-part epoxy or another adhesive explicitly rated for both surfaces. Weld-On’s technical data and Permabond’s acrylic bonding guide explain these different routes.
The important qualification: the current Weld-On 4 and 16 formulations discussed below are for industrial and professional use only—not consumer use. They are not default recommendations for a home craft repair.
Identify and prepare the acrylic first
Confirm that the material is acrylic, or PMMA (polymethyl methacrylate), rather than simply “clear plastic.” Also check whether the bonding surface has a coating. ACRYLITE’s fabrication guidance distinguishes bare acrylic from abrasion-resistant coated surfaces, which require different preparation for solvent cementing. ACRYLITE fabrication guide
Before choosing a product:
- Dry-fit the joint. The parts should meet without being bent or forced together. Thin capillary cement needs accurately mating surfaces; thicker cement can accommodate small imperfections, not replace missing material.
- Prepare flat, square mating edges. Leave suitable original surfaces and smooth saw cuts alone. Correct rough edges as needed, but do not polish edges intended for solvent cementing: polishing can leave stressed, rounded edges that make poor joints. Remove protective masking from the bond area.
- Clean gently and dry completely. Mild detergent and lukewarm water are a sensible starting point. Rinse away residue. Do not use acetone as a routine acrylic degreaser; it can attack the plastic.
- Arrange support before applying glue. Use a jig or suitable clamps to maintain alignment without forcing the joint. Test the complete preparation-and-bonding method on scrap from the same sheet when possible.
These steps follow ACRYLITE’s fabrication and cleaning guidance and its cementing instructions. Permabond also advises bonding clean, dry acrylic as received and warns that aggressive solvents—notably acetone—can damage it. Permabond surface-preparation advice
Choose the adhesive by the job
| Job | Best starting point | Main limitation |
|---|---|---|
| Close-fitting acrylic-to-acrylic seam | Water-thin acrylic solvent cement | Requires accurate fit and controlled dispensing; check permitted user category |
| Acrylic-to-acrylic joint with small fit imperfections | Medium-bodied acrylic cement | Not a substitute for a properly fitted joint or missing acrylic |
| Rigid repair with a gap, or acrylic bonded to another material | Two-part epoxy explicitly rated for both surfaces | Check gap allowance, cured appearance and service conditions |
| Small, tight-fitting repair where fast setting matters more than appearance | Acrylic-compatible cyanoacrylate (super glue) | Excess can cause white residue, fogging or stress cracking |
| Joint that must accommodate movement | Acrylic-compatible flexible adhesive, such as an MS polymer | Verify load capacity and exposure suitability for the exact grade |
The solvent-cement choices follow ACRYLITE’s capillary and viscous cementing guidance; the epoxy, cyanoacrylate and flexible-adhesive options follow Permabond’s acrylic compatibility guidance and stress-cracking advice.
Product examples and cure planning
Professional fabrication: Weld-On 4 or 16
Weld-On 4 DCM TCE FREE is a water-thin, blush-resistant cement for acrylic bonded to itself. It is not recommended for cross-linked acrylic. For the capillary method, place the parts lightly together, dispense along the joint edge, allow the cement to soften the surfaces, then bring them into firm contact.
At 73°F (23°C), its technical sheet lists 1–2 minutes working time and 3 minutes fixture time. That is not full cure: the directions describe further strength development over 24–72 hours, with additional gains afterward. Weld-On 4 technical data sheet
Weld-On 16 DCM TCE FREE is a medium-bodied acrylic cement. Apply it to one or both mating surfaces, assemble while wet and hold the parts until initial set. Its sheet lists 5 minutes working time and approximately 80% of ultimate bond strength after 24 hours at 73°F (23°C). Do not treat early handling strength as permission to load the assembly. Weld-On 16 technical data sheet
Both sheets specify professional/industrial use only and warn of highly flammable liquid and vapor. Read the matching safety data sheet before use; provide the specified ventilation and protective equipment, and keep away from ignition sources. “DCM TCE FREE” does not mean harmless.
Weld-On announced the DCM- and TCE-free reformulations in August 2025, so match the instructions and safety sheet to the actual container rather than an older online guide. Weld-On reformulation notice
Home crafts: a consumer adhesive that explicitly lists acrylic
For a light-duty household or craft bond, the cited UHU All Purpose Adhesive formulation is one documented option: its manufacturer lists Plexiglas among suitable materials and specifies final bond strength after 24 hours. Apply a thin layer to one side, press together and support the assembly while it dries. It contains highly flammable solvents; check the exact local product’s label and precautions. This is a craft option, not a recommendation for structural acrylic fabrication. UHU technical sheet
For a gap-bearing rigid repair, choose a consumer two-part epoxy whose documentation explicitly includes acrylic and the other substrate. “Plastic glue” alone is not sufficient identification; our epoxy-to-plastic guide explains that compatibility check. Follow the exact product’s mix ratio, application instructions and full-cure schedule.
Avoid the two common acrylic mistakes
Using too much super glue. Cyanoacrylate can bond acrylic, but excess adhesive can leave a frosty white deposit. Wiping it across the surrounding surface can fog the acrylic. Low-bloom grades reduce powdery residue; they do not remove the need for careful application and compatibility testing. Permabond acrylic guide
Ignoring stress and exposure. A forced joint or a large difference in thermal expansion between acrylic and the second material can create problems even when initial adhesion is good. Consider a suitably resilient adhesive where movement is expected, and verify water, sunlight and temperature limits for the exact product. Permabond stress-cracking guidance
For aquariums, pressure-containing parts, overhead pieces or safety-critical repairs, obtain an application-specific joint design and adhesive recommendation. A clear seam or a “water-resistant” label is not enough to establish suitability.