
5 min read ·
Fix a Tabletop Glue-Up Without Wasting More Wood
Diagnose gaps, uneven boards and cupping in a solid-wood tabletop glue-up, then decide whether to flatten the panel or cut and reglue faulty seams.
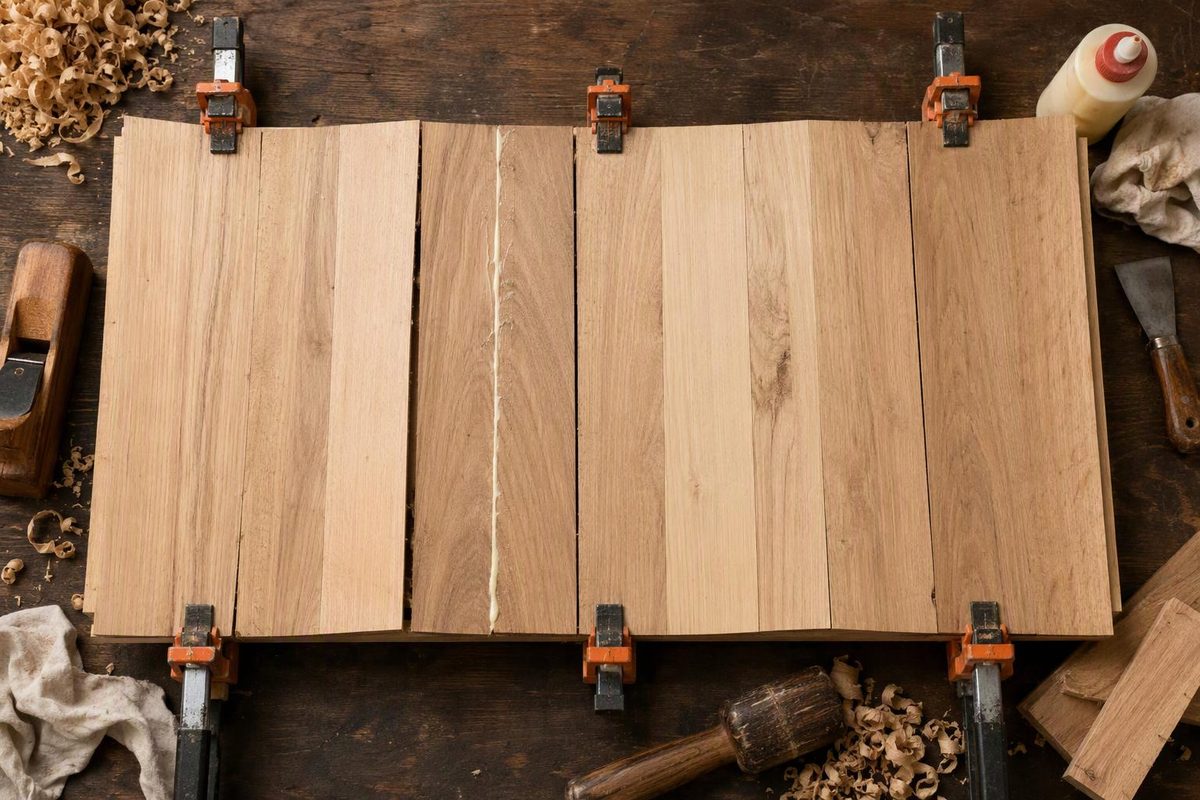
For a cured solid-wood tabletop, flatten tight, sound joints if enough thickness remains; cut and reglue failed or badly misaligned joints. Before sanding, measure the defects and work out how much thickness or width each repair will cost. More glue or more clamping pressure is not a substitute for correcting poorly fitting edges.
This guide covers boards glued edge-to-edge into an unfinished, unmounted tabletop—not veneer, laminate or an epoxy pour.
Identify the problem before removing wood
If the glue is still wet and you are within the product’s stated assembly time, correct alignment now. Ease the clamps slightly, bring the faces flush with paired cauls, then tighten the clamps progressively. Cauls are rigid bars above and below the panel, protected with packing tape or another suitable release surface. Both Katz-Moses Tools and The Wood Whisperer describe this alignment method.
If the adhesive has begun setting, stop trying to slide the boards into position. Let the assembly cure before assessing a cut-and-reglue repair.
For a cured panel, scrape away squeeze-out where you need to inspect it, then check:
- Seam gaps: Can you see an opening after removing the surface glue? Does it extend through the thickness or occur only at a chipped edge?
- Steps between boards: Measure the height difference with a straightedge and feeler gauges.
- Overall cup or twist: Check across the width, along the length and diagonally. Winding sticks help reveal twist.
- Remaining material: Record the thinnest area and the minimum acceptable finished thickness and width. Allow for material removal from both faces if both need flattening.
Support the panel without clamping it flat during inspection; otherwise you may hide the distortion.
| What you find | Repair direction |
|---|---|
| Tight seams, small surface steps | Flatten after adequate cure, provided enough thickness remains |
| Tight seams, broad cup or twist | Allow even airflow and reassess; flatten only once reasonably stable |
| Open joint, or a seam that separates under ordinary handling | Cut out the faulty joint, prepare fresh edges and reglue |
| Large step that would sacrifice too much thickness | Separate that seam and realign the boards |
| Shallow chip at an otherwise tight seam | Consider a cosmetic repair only after confirming it is not an open joint |
Open seams: correct the joint, not just its appearance
Do not treat filler, a glue-and-sawdust mixture or glue dribbled into a cured seam as equivalent to rebuilding the edge joint. A filled opening may look better without establishing a sound bond through the tabletop.
Titebond’s Australian distributor guidance says its wood glues are not designed to fill significant gaps and calls for tight-fitting, well-machined joints. That makes fresh joint preparation the priority—not switching to a supposedly stronger glue. See its joint-preparation guidance.
A practical rework sequence is:
- Mark the board order and top faces. Preserve the grain arrangement before separating anything.
- Budget the width loss. Allow for the saw kerf plus the material needed to remove old adhesive and true both mating edges. If the top is already at final width, decide whether to accept a narrower top or add another board.
- Cut along the defective seam. Use a setup that safely supports and controls the whole panel. Do not balance a large or rocking tabletop on a small table saw; have a suitably equipped shop make the cut if necessary.
- Joint or plane the mating edges to clean wood. Remove cured glue and correct bow or angle errors rather than merely roughening the surfaces.
- Dry-clamp the repair. Check that the faces sit flush and the seam closes without excessive force. If it does not, revisit the edges.
- Reglue with alignment control. Use cauls or accurately placed alignment joinery, and tighten the clamps incrementally. Rebuilding in smaller sections can make a large panel easier to manage.
Contributors to a Fine Woodworking forum discussion about a faulty panel glue-up report using this cut, re-joint and reglue approach. That is workshop experience rather than a bond-strength test; the underlying requirement remains clean, properly fitted bonding surfaces.
Ridges and cupping: decide whether flattening is affordable
A surface ridge is not automatically a failed glue joint. If the seam is closed and sound, flattening may be the least destructive repair. But do not sand only the high board until the step disappears—you can produce a hollow or rounded transition instead of a flat tabletop.
For appreciable unevenness, use a controlled flattening method: a hand plane if you have the skill, a properly built router sled, or a cabinet shop’s surfacing equipment. Follow with sanding for surface preparation, not as the primary correction for major geometry errors.
For a router sled, the rails must lie in the same plane and the panel must be shimmed and secured without forcing it flat. WOOD magazine’s flattening guide explains the setup and the sequence of flattening one face, then turning the work over to flatten the other.
If the resulting top would be too thin, separating and realigning the offending boards is preferable to removing more material.
For cupping, first give both faces similar exposure to shop air—for example, with the panel supported on spacers. Dry, acclimated stock and even airflow are important to panel stability, as explained in The Wood Whisperer’s panel guidance. This is a reason to reassess before cutting, not a guarantee that an already cupped panel will flatten itself. Do not keep flattening a panel that is still changing shape.
Wait before final surfacing
Clamp removal is not the same as readiness for machining. For most of its wood glues, Titebond recommends 30–60 minutes in clamps for unstressed joints, 24 hours for stressed joints, and no stressing of a new joint for at least 24 hours. Follow the actual adhesive’s instructions rather than applying those times to every product.
Titebond also warns that machining water-based glue-ups before moisture near the seams has equilibrated can cause sunken glue joints. The Wood Whisperer explains the mechanism: wood near the seam is sanded flat while swollen by moisture from the glue, then shrinks and leaves a groove.
If grooves appeared after early sanding, allow the panel to stabilise and reassess the surface and seams before removing more wood. Once the geometry and joint fit are corrected, use the wood-to-wood adhesive guide to choose glue for the repair’s exposure and working-time requirements.