
4 min read ·
Choose Between Titebond II and III for Your Joint
Compare Titebond II and III by water resistance, assembly time, shop temperature, dried color and tested strength to choose the right wood glue.
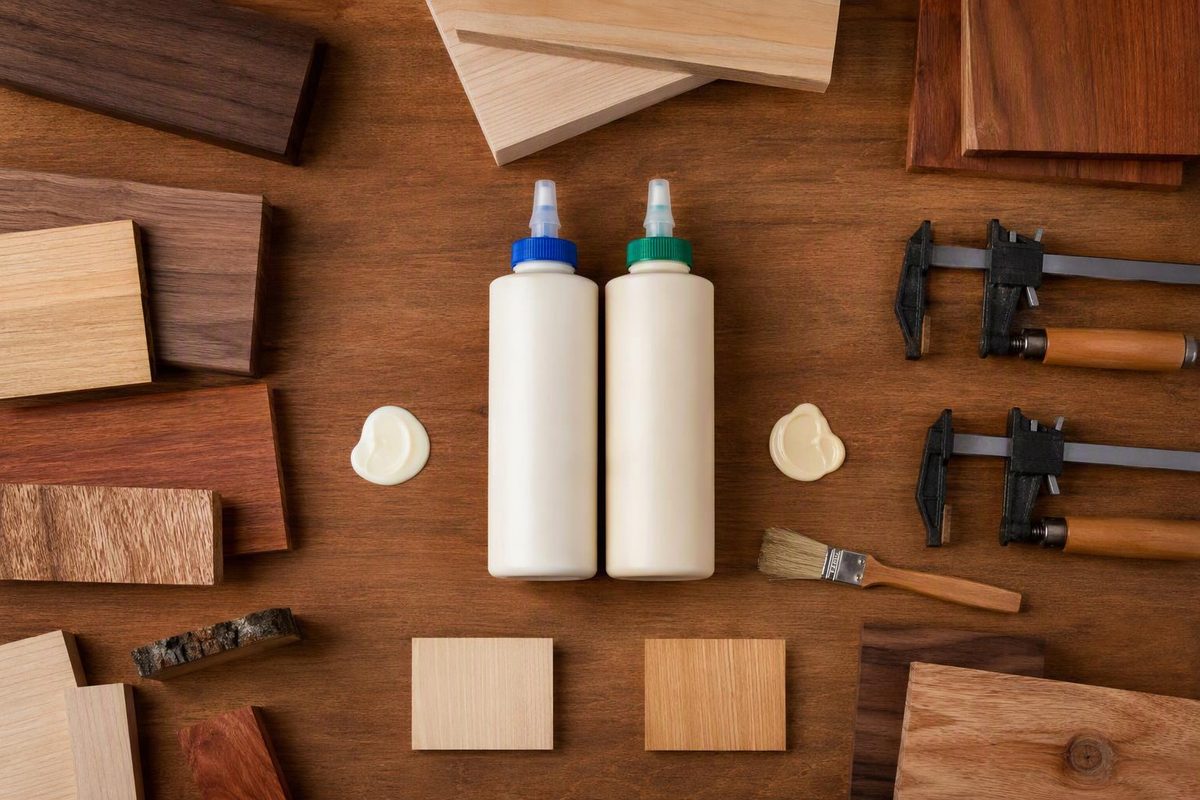
Use Titebond II for close-fitting wood joints that need a faster set and will face rain, splashes or occasional moisture. Choose Titebond III when the joint needs the stricter water-resistance classification, more assembly time or bonding at a lower temperature.
Select the joint conditions; the result identifies which glue fits them.
Project Fit
At 70°F, its faster Type II bond fits occasional moisture and a straightforward assembly.
Source: Titebond II Premium and Titebond III Ultimate manufacturer product data and FAQs cited in the article. Neither product is for continuous submersion.
Both are water-cleanup wood glues designed for interior and exterior work. Both are manufacturer-listed as compliant for indirect food contact, including cutting boards. Neither is intended for continuous submersion, below-waterline service, structural joints or load-bearing applications.
Titebond II vs. III at a Glance
| Property | Titebond II Premium | Titebond III Ultimate |
|---|---|---|
| Water-resistance classification | ANSI Type II | ANSI/HPVA Type I |
| Open assembly time at 70°F/50% RH | 3–5 minutes | 8–10 minutes |
| Total assembly time at 70°F/50% RH | 10–15 minutes | 20–25 minutes |
| Listed application temperature | Above 55°F | Above 47°F* |
| Dried color | Translucent yellow | Light brown |
| ASTM D-905 result on hard maple at room temperature | 3,750 psi | 4,000 psi |
| Main reason to choose it | Faster routine assembly | More water resistance and positioning time |
The figures come from the current manufacturer pages for Titebond II Premium and Titebond III Ultimate. Assembly times are measured at 70°F and 50% relative humidity, so do not assume the same timing under different shop conditions.
*The Titebond III page conflicts with itself: its application guideline says above 47°F, while its limitations and chalk-temperature text say 45°F. Unless Titebond confirms otherwise, keeping the glue, wood and air above 47°F follows the more conservative published threshold.
Water Exposure and Working Time Decide the Choice
Titebond III passes the more demanding Type I water-resistance test; Titebond II passes Type II. Titebond says Type I specimens are boiled, oven-dried, boiled again and shear-tested while wet. Type II specimens undergo three soak-and-dry cycles and are checked for delamination (Titebond wood-glue FAQs). These are standardized bond-line tests, not permission to immerse a finished project indefinitely.
Choose Titebond II for:
- Indoor furniture and cabinets where water resistance is desirable
- Outdoor furniture, planters, birdhouses and similar projects, which the manufacturer lists as suitable examples
- Simple assemblies that can be aligned within 3–5 minutes
- Jobs where a translucent-yellow glue line is preferable to light brown
Choose Titebond III for:
- Exterior woodwork likely to receive more substantial or repeated wetting
- Cutting boards and other food-contact projects where the Type I classification is useful
- Multi-part glue-ups that need 8–10 minutes of open assembly time
- Cool-shop assembly where 55°F is not achievable but the glue, wood and air can remain above 47°F
For a small edge joint or straightforward mortise-and-tenon assembly, Titebond II’s shorter assembly window may suit a faster workflow. For a large tabletop or complicated clamping sequence, Titebond III provides more time to position the parts.
Do not confuse open assembly time with the full assembly window. Open assembly time is the period before the adhesive-coated faces are brought together. Total assembly time continues until final pressure is applied and includes any closed assembly time between joining and clamping; Titebond’s adhesive glossary defines these terms.
The Strength Number Does Not Settle the Comparison
The published room-temperature ASTM D-905 results on hard maple are close: 3,750 psi for Titebond II and 4,000 psi for Titebond III. These laboratory results should not override water exposure, application temperature or working time.
The same product data report 1,750 psi for Titebond II after overnight exposure at 150°F, compared with 800 psi for Titebond III. “III” is therefore not an upgrade under every test condition.
Neither glue substitutes for sound joinery. The manufacturer calls for enough clamping pressure to bring the joint tightly together: generally 100–150 psi for softwoods, 125–175 psi for medium-density woods and 175–250 psi for hardwoods.
Correct a wide or irregular gap rather than expecting extra PVA glue to compensate. If the joint genuinely requires gap filling, consider a suitable epoxy adhesive for wood.
Close-Fitting, Bare Wood Produces the Best Joint
- Expose bare wood. Remove paint, stain and sealer from the bonding faces. Titebond notes that a coated joint is limited by the coating’s adhesion to the wood.
- Make the surfaces fit closely. Joint or sand them flat, then remove dust. Prepare oily woods shortly before bonding; teak, ipe and other difficult species may require testing or advice from the glue manufacturer.
- Keep the wood reasonably dry. Titebond says moisture above 10% can slow water-based wood glues substantially, while wood above 16% moisture may prevent them from drying properly (manufacturer FAQs).
- Spread a continuous film and assemble promptly. Keep within the shorter open assembly time as well as the total time to final pressure.
- Clamp the joint fully closed. The faces should fit without using clamp force to correct poor joinery. A small, consistent squeeze-out helps show that glue reached the joint.
- Leave the joint unloaded. Titebond’s general guidance is 30–60 minutes of clamping for an unstressed joint, 24 hours for a stressed joint, and no significant stress on a new joint for at least 24 hours. High wood moisture can extend drying.
- Clean while wet. Remove squeeze-out with a damp cloth, or scrape and sand it after drying. Remaining glue can interfere with stain absorption.
Titebond II is the faster Type II option; Titebond III is the longer-working Type I option. Select III when its water resistance, additional positioning time or lower application temperature solves a real job condition. Otherwise, II remains a capable exterior-rated wood glue with a faster workflow.