
5 min read ·
Epoxy Putty: Choose for Filling, Rebuilding and Shaping
Learn what epoxy putty is, which repairs suit it, and how to choose, mix, apply and cure it without confusing hardness with repair strength.
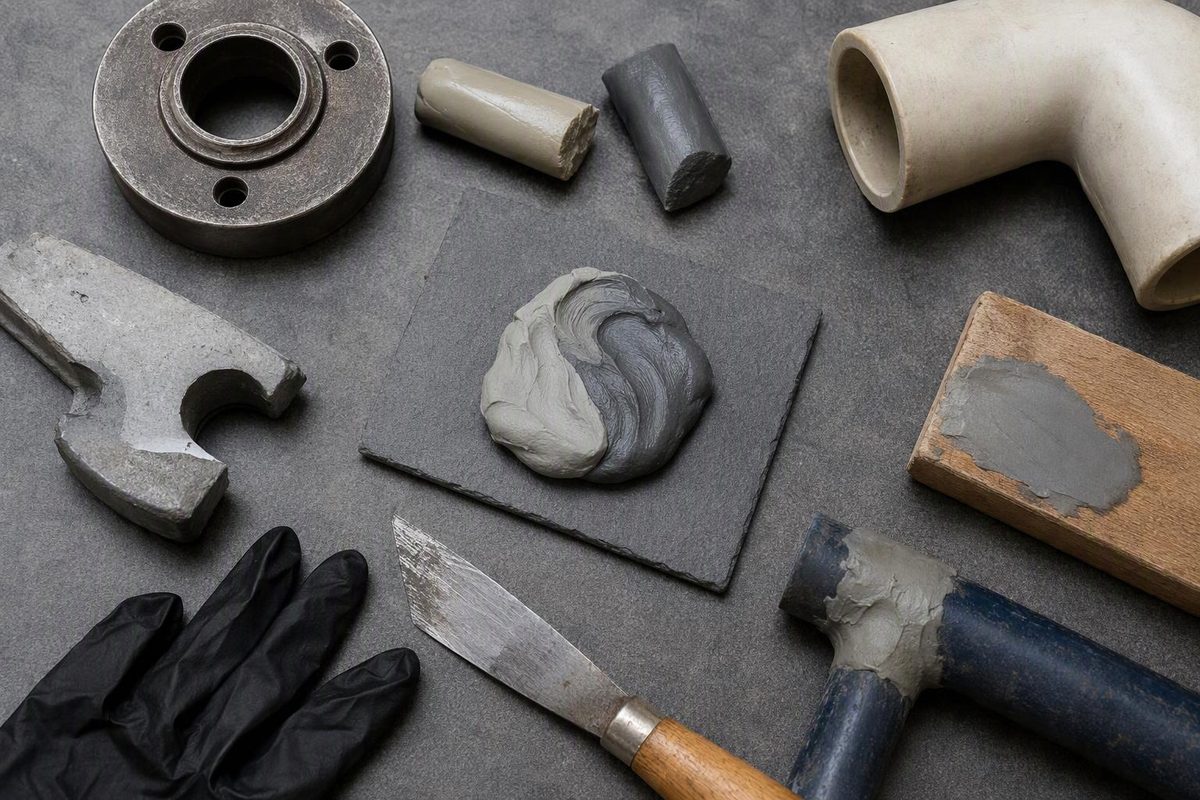
Epoxy putty is a two-component, moldable epoxy repair material. Mixing its resin and hardener starts the cure; before it hardens, you can press it into a hole, rebuild a missing edge or shape a replacement detail. Unlike a pourable resin, putty is intended to be placed and shaped rather than poured. Many grades can be sanded, drilled or painted after curing. J-B Weld’s explanation of epoxy formats describes these differences.
Choose it when the job needs both adhesion and a shaped fill. Do not assume that a hard patch restores the original part’s load capacity, or that every epoxy putty bonds the same materials.
What is epoxy putty used for?
Typical uses include filling cavities, rebuilding small missing sections, patching compatible rigid surfaces and sculpting details. The grade matters as much as the chemistry.
| Job | Putty to look for | Selection check |
|---|---|---|
| Rebuild a small metal edge or fill a metal cavity | Metal-repair grade, sometimes metal-filled | Exact metal, service temperature and whether the cured fill can be machined |
| Fill damage in wood trim or furniture | Wood-repair grade | Sound wood around the repair, finish requirements and moisture exposure |
| Restore a ceramic ornament or model detail | Fine-textured modeling or restoration grade | Detail, cured color and sanding finish |
| Patch a compatible surface that cannot be dried | Explicit wet-surface or underwater grade | Permission to apply wet—not merely water resistance after cure |
| Fill a rigid plastic part | Grade documented for that plastic | Identify the polymer first; “plastic repair” is not universal compatibility |
These are distinct formulations, not interchangeable labels. For example, J-B Weld lists SteelStik for metal rebuilding and KwikWood for wood repair; Milliput describes Superfine White as a fine-finish material for ceramic restoration and recreating missing parts. J-B Weld grade guidance, Milliput Superfine White.
Choose by material, gap and exposure
Start with the material the putty will actually touch. If paint or loose material remains, that layer—not the underlying metal, wood or ceramic—becomes part of the repair.
Check these points before buying:
- Substrate compatibility. Confirm both materials if joining two parts. J-B Weld says most of its products bond poorly to polyethylene (PE), polypropylene (PP) and flexible rubber. Sanding is not a substitute for documented compatibility. See whether epoxy sticks to your plastic. Manufacturer compatibility limits.
- Repair geometry. Putty suits a cavity or missing volume you can pack and shape. For a close-fitting assembly joint, choose an adhesive documented for that joint rather than treating repair putty as the default glue. Milliput explicitly says its putty is not intended as a thin-layer adhesive. Milliput application guidance.
- Load and movement. Filling a defect is different from designing a load-bearing joint. For safety-critical parts, use an approved repair procedure or replace the component; a package strength figure does not establish the repaired assembly’s capacity.
- Moisture and chemicals. Distinguish application conditions from cured-service resistance. WaterWeld explicitly allows underwater setup; do not transfer that permission to other grades. WaterWeld specifications.
- Temperature and finish. Check the product’s service limits, cured color and finishing instructions. Hot repairs need a separate high-temperature epoxy selection.
For leaks, the pipe, defect and operating conditions require their own assessment. See the narrower guidance on epoxy putty for PVC pipe, rather than interpreting “underwater” as approval for any pressurized repair.
Also check contact restrictions: suitability for ceramic restoration does not establish suitability for a drinking vessel. J-B Weld states that its products are not rated food-safe and recommends against direct food or beverage contact. Manufacturer food-contact guidance.
How to apply epoxy putty
Prepare the job before mixing, especially with a fast-setting stick.
- Read the application instructions and safety data sheet. Use the specified protective gloves and eye protection, and provide the required ventilation. “Hand-mixable” does not mean safe for bare skin: SteelStik’s SDS identifies skin irritation, allergic skin-reaction and eye-irritation hazards. SteelStik SDS.
- Prepare a sound bonding surface. Remove loose material and contamination; roughen where the product instructions require it. Use a cleaner compatible with both the substrate and the putty, and dry the surface unless the selected grade permits wet application. J-B Weld recommends abrasion and cleaning before bonding. Surface-preparation guidance.
- Measure the correct proportions. With a layered repair stick, take a section containing both components. With separately packaged parts, follow the stated ratio; do not assume every product is mixed the same way. Epoxy dispensing formats.
- Knead thoroughly. For contrasting components, follow the instructions until the color is uniform, without streaks. Color alone is less useful when both parts look alike: Superfine White’s sticks are virtually the same color. Milliput’s general instructions specify equal quantities, at least five minutes of kneading until uniform, then another minute of mixing. SteelStik application instructions, Superfine White instructions, Milliput mixing guidance.
- Pack and shape promptly. Press the mixed putty firmly against the prepared surface and into the cavity. Complete placement and shaping within the product’s stated working time. SteelStik application instructions.
- Leave it undisturbed for the specified cure. Wait for the stated machining, painting and service milestones—not simply a hard-feeling surface. Control sanding dust and follow the SDS precautions when finishing.
Set time is not cure time
There is no universal epoxy-putty cure time. J-B Weld lists SteelStik at 5 minutes to set and 1 hour to cure, WaterWeld at 25 minutes and 1 hour, and PlasticWeld putty at 25 minutes and 3 hours. Those are product-specific figures, not timings for the whole category. Manufacturer putty-stick cure guidance.
Milliput illustrates the distinction more explicitly: at 20–25°C (68–77°F) it becomes hard in 3–4 hours, then requires an additional period equal to its setting time at the same temperature to reach full cure. The manufacturer specifies full cure before machining or finishing. Milliput cure instructions.
Working time is the window for mixing, placement and shaping. Set time marks hardening; cure or return-to-service instructions govern when the repair can be finished or used. Follow the package’s temperature conditions and any exposure-specific waiting period.
If the fill remains soft or streaked, check proportions, mixing and cure conditions before using it. If it hardens but separates from the surface, reassess preparation, compatibility and movement. A hard lump of epoxy is not proof of a sound bond.