
6 min read ·
The Right Glue for Leather Crafts, Repairs, and Shoes
Choose glue for leather by joint type, second material, flex and exposure. Compare contact cement, craft glue, repair adhesive and rubber cement.
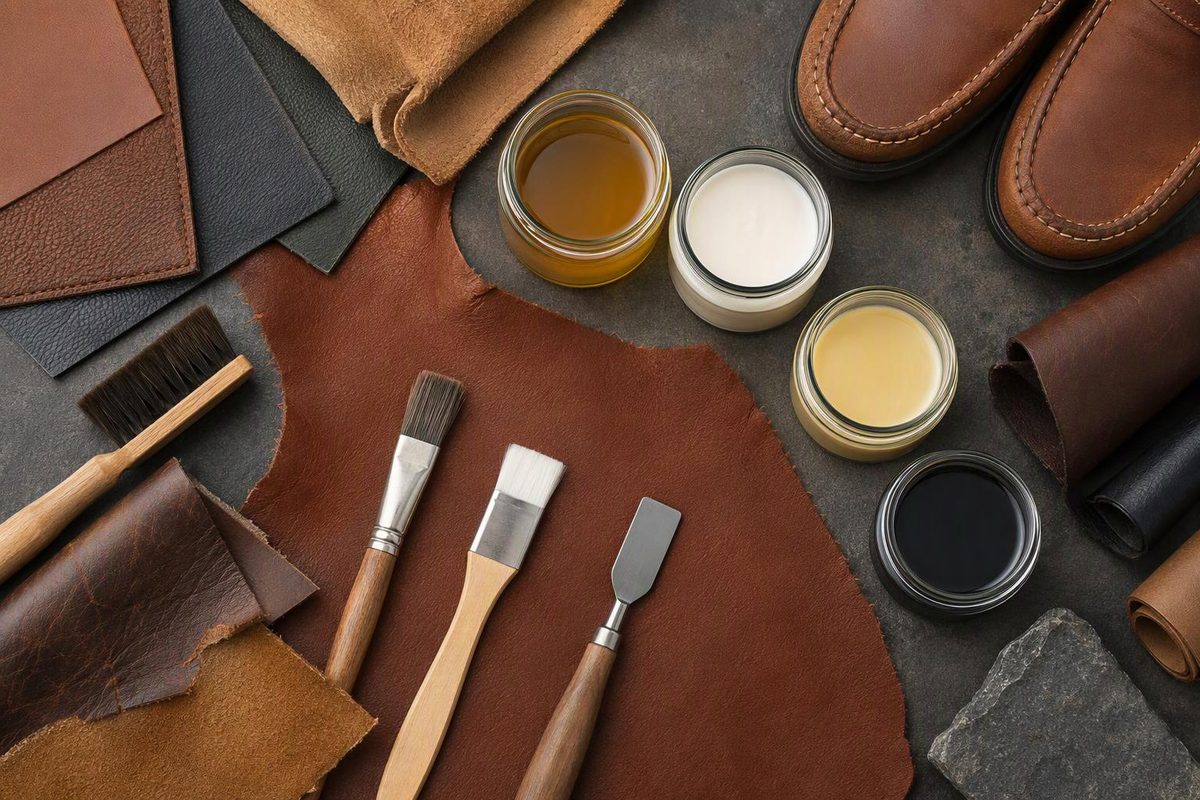
For most permanent leather-to-leather laminations, use a flexible contact adhesive that explicitly lists leather. Use wet-bond leathercraft glue for absorbent craft assemblies, a flexible leather repair adhesive for small tears, and rubber cement only for a temporary or stitch-supported bond. For shoes, the adhesive must list both leather and the actual sole material; rubber, EVA and polyurethane (PU) are not interchangeable.
Choose the job and second material to get the appropriate adhesive family.
Match the Adhesive to the Joint
Best Match
Flexible contact adhesive for leather
Choose a contact adhesive that explicitly lists leather. Apply it at the maker’s specified stage and use firm, even pressure.
Watch for: Little or no repositioning after the prepared faces touch.
Selection basis: manufacturer uses and limitations cited in the article. No comparable bond-strength figure is available across these adhesive families.
Quick Selection Table
| Job | Suitable adhesive | Main limitation |
|---|---|---|
| Wallet, belt, sheath or bag layers | Water- or solvent-based leather contact adhesive | Little or no repositioning after contact |
| Layers held for stitching | Leathercraft adhesive, temporary rubber cement or leatherworking tape | Stitching should carry the required load |
| Small tear in clothing, luggage or upholstery | Clear, flexible adhesive labeled for leather repair | Does not replace missing finish, color or backing |
| Leather to wood, metal, cloth or board | Contact adhesive listing both materials | Coated leather needs a test; porous surfaces may need another coat |
| Shoe upper to sole | Footwear adhesive listing leather and the exact sole material | Extensive or structural separation may need professional repair |
| Beads, fringe and light embellishments | Leather-and-suede craft glue | Usually unsuitable for stressed or washable repairs |
Water-based does not automatically mean unsuitable for demanding leatherwork. Tandy lists Ecoweld contact adhesive for bags, shoe uppers, wallets and heels. Renia’s Aquilim 315 guide covers leathercraft, bags and shoe uppers and specifies a thin film, a drying stage and firm pressure for two-sided contact application (Tandy; Renia).
Identify Both Sides Before Choosing
“Leather” describes only one substrate. Determine the leather surface and the material on the opposite side before selecting an adhesive.
- Leather surface: absorbent flesh side, suede, unfinished grain or coated or painted grain.
- Other material: leather, fabric, wood, metal, rubber, EVA, PU or another plastic.
- Movement: a wallet fold and shoe sole flex repeatedly; a decorative panel may not.
- Exposure: account for sweat, rain, washing, vehicle heat or indoor-only service.
- Load: a lining differs from a belt end, shoe sole or load-bearing strap.
For faux or bonded leather, choose by the polymer coating and backing rather than the word “leather.” If the coating is already flaking from its backing, glue applied over that unstable layer cannot rebuild the original laminate.
Contact Adhesive Suits Broad, Flexible Joints
Contact adhesive suits leather laminations and many leather-to-rigid-material joints. It is normally applied to both surfaces, allowed to reach the specified dry or tack stage, and then joined under firm, even pressure. Alignment must be correct before contact; see the guide to contact adhesives.
Do not transfer one product’s timing to another. Barge defines dry time as the period when coated pieces remain apart so solvent can evaporate, notes that humidity extends this period, and instructs users to apply pressure for 1–2 minutes after joining (Barge). Follow the container or current technical data sheet for the exact adhesive.
Barge identifies its contact adhesives as flammable and calls for a well-ventilated work area away from heat, flame and sparks. Renia says its Aquilim water-based line contains no organic solvents and presents no fire hazard, but must stay above 4°C (39°F) and is less tolerant of contamination; sanding or cleaning is usually recommended where appropriate. Follow the product label and safety data sheet.
Contact adhesive is a poor choice when the pieces must slide into final alignment after touching. Once two prepared faces make contact, repositioning may be limited or impossible. Dry-fit the assembly and mark reference points first.
Wet-Bond Glue Works on Absorbent Assemblies
Wet-bond leathercraft glue is useful when at least one surface is absorbent and the pieces can remain pressed while drying. Tandy’s Leather Weld directions call for a thin, even layer on clean, dry surfaces, assembly while wet and continued pressure until dry (Tandy Leather Weld). This is not the same procedure as contact cement.
Wet-bond glue can hold layers for stitching or secure craft assemblies within the product’s stated limits. It should not be treated as a substitute for contact adhesive merely because both products are sold for leather.
For embellishment, use a product with appropriately modest claims. Aleene’s describes its Leather & Suede Glue as clear and flexible but limits it to light repairs and embellishments, says it is not washable, and recommends testing and lightly sanding smooth leather (Aleene’s).
Rubber Cement Is Mainly for Positioning
Rubber cement is generally a temporary option, not the strongest permanent bond. Tandy describes it as repositionable and less suitable than contact cement for permanent connections (Tandy). Barge says its rubber cement is intended to hold leather or fabric for stitching or another connection.
That makes rubber cement useful when layers need temporary alignment before sewing. If the finished item depends on the adhesive rather than stitching or another mechanical connection, choose an adhesive rated for the permanent joint.
Small Tears Need a Flexible Repair Adhesive
For a small tear, choose an adhesive explicitly labeled for flexible leather repairs. Loctite Vinyl, Fabric & Plastic Repair lists leather, shoes and clothing. Its stated 10-minute set and 24-hour full cure are product-specific, not general leather-glue timings (Loctite).
A hole, missing finish or spreading upholstery tear may need backing and color repair as well as adhesive. For example, 3M’s automotive leather-and-vinyl kit includes vinyl adhesive, repair compounds and textured grain papers (3M). Adhesive alone cannot replace missing surface material or recreate the grain.
A repair also depends on the condition of the surrounding material. Bonding over a peeling coating, crumbling backing or contaminated finish attaches the repair to a weak layer rather than to sound material.
Shoe Adhesive Must Match the Sole Material
A footwear repair is not simply a leather-to-leather joint. The upper may be leather while the sole is rubber, EVA, PU or another material, and the adhesive must be compatible with both surfaces.
Choose a footwear adhesive whose label or technical sheet names leather and the exact sole material. Do not assume that a product rated for rubber also works on EVA or PU. Surface treatments, primers and application procedures are product-specific.
A small, clean separation may be suitable for an adhesive repair. An extensively detached sole, damaged midsole or structural failure in a heavily flexed area may require professional repair. Adhesive should not be used to conceal deterioration that has left the sole or upper without sound material to bond.
Ordinary Super Glue Is Not the Default
Ordinary cyanoacrylate is not the default for a folding leather joint. Fast fixture does not establish adequate flexibility or gap filling.
Specialized grades exist. The provisional data sheet for professional or industrial Permabond 751 specifies 150% elongation, a maximum gap of 0.15 mm (0.006 in), 5–20 seconds to handling strength on leather and 24 hours to full strength (Permabond 751 TDS). Those figures apply to that grade, not to generic super glue.
A general-purpose cyanoacrylate may leave a hard bond line, fail on a flexing joint or mark the surrounding finish. Use one only when its technical data explicitly fits the materials, movement and bond gap.
Prepare Leather Without Damaging the Finish
- Dry-fit and mark alignment. Contact adhesive may provide no useful repositioning time.
- Remove weak material. Clear loose old adhesive, dust and crumbling backing. Keep conditioners, waxes and oils away from the joint.
- Prepare only the hidden bond area. Lightly abrade a slick finish only if the adhesive maker permits it, then remove the dust. Do not sand visible grain or use an unapproved solvent.
- Test a concealed spot or offcut. Check for darkening, staining, bleed-through and finish damage, especially on pale leather, suede and thin skins.
- Apply a thin, uniform coat. Follow the specified joining stage: wet-bond glue joins wet, while contact adhesive normally joins after drying to its stated condition.
- Apply even pressure. Use a roller, smooth-faced hammer or protected cauls as appropriate for the work.
- Keep the joint unloaded for the full cure. “Sets in 10 minutes” or “ready to stitch” is not the same as full service strength.
If the joint carries body weight, restrains a load, sits beside a safety-critical buckle or forms part of a heavily flexed shoe structure, retain the stitching, rivets or other mechanical construction the item requires. Adhesive should not replace a structural detail by default.