
6 min read ·
Panel Bonding Adhesive Is Not a Universal Substitute for Welding
Choose automotive panel bonding adhesive by OEM procedure, panel type, substrate, joining method, work time, temperature and cure requirements.
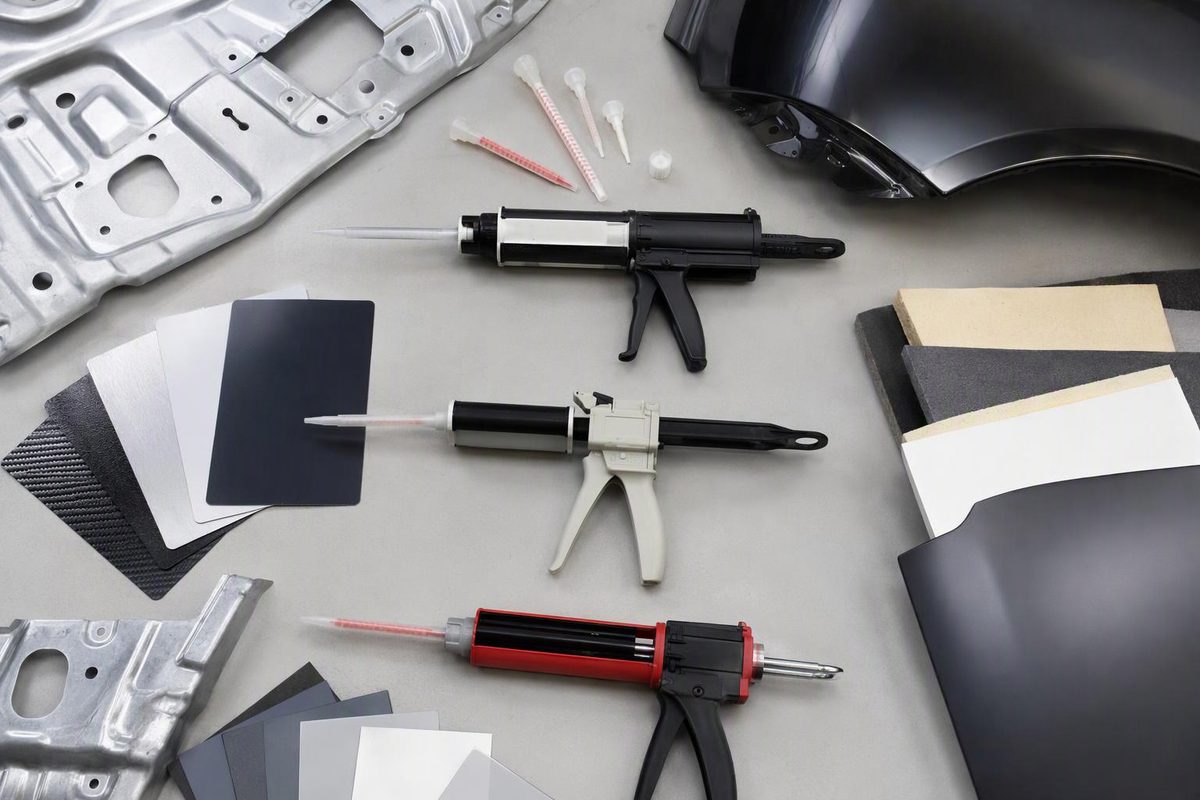
For automotive collision repair, choose panel bonding adhesive from the current OEM procedure for the exact vehicle, panel and joint. These products are commonly two-part epoxies, but they are not universal substitutes for welding, riveting or a specified impact-resistant structural adhesive.
Check the make, model and year; the exact panel and joint; and the required attachment method before choosing a cartridge. Procedures can change between model years, and a product described as “high strength” or “structural” is not automatically approved for a particular joint. 3M likewise advises consulting the manual for the correct model year.
Match the adhesive to the panel and joint
| Repair area or task | Starting point | What to verify |
|---|---|---|
| Door skin, roof skin, quarter panel or pickup box side | Panel bonding adhesive may be appropriate | Whether the OEM permits bonding at each flange; required welds or rivets; approved product |
| Pillar, rocker, frame rail, strut tower or frame member | Treat as structural | The OEM-specified adhesive and mechanical joining process, if adhesive is permitted at all |
| Panel with bonded flanges and welded sectioning joints | Adhesive plus welding or riveting may be required | Exact adhesive zones, weld type, weld count and locations |
| Gap between an outer skin and brace | Specified anti-flutter or NVH material | Bead size, placement and required flexibility |
| Exposed exterior seam | Seam sealer after joining | Paintability, tooling and cure schedule |
| Dent, pinhole or cosmetic low spot | Body filler or another specified repair material | Panel condition and refinishing process |
For example, 3M’s 08115 technical sheet defines that product primarily for outer-body, non-structural panel attachment, including door skins, roof skins, quarter panels and box sides used with welding or riveting where required. It says not to use 08115 on pillars, rockers, towers or frame members unless the vehicle manufacturer specifically directs that use; if a part’s status is uncertain, 3M says to consider it structural (3M 08115 technical data sheet).
Do not infer approval from another vehicle that looks similar. An I-CAR response based on older Toyota collision-repair bulletins, for example, reports that Toyota/Lexus/Scion allowed adhesive only in limited specified locations on the vehicles covered and did not recommend weld bonding. That historical example is not a substitute for the current procedure for the vehicle being repaired (I-CAR vehicle-maker-specific response).
Selection checklist
Choose a product only after confirming these six points:
- Documented approval: Use the adhesive named in the current OEM procedure. If it says “or equivalent,” obtain published OEM evidence of equivalency rather than comparing only lap-shear numbers. 3M also advises using the specified adhesive unless the OEM has published written proof that an alternative is equivalent (3M collision-repair guidance).
- Substrates: Identify both mating surfaces—bare steel, galvanized steel, aluminum, e-coat, SMC or FRP—and follow their prescribed preparation. “Bonds metal” is not specific enough.
- Joining method: Confirm whether the adhesive is used alone or with squeeze-type resistance spot welds, MIG/MAG welds, rivets or other fasteners. Check whether welding through uncured adhesive is permitted. For 3M 08115, the TDS permits spot welding through uncured adhesive but says not to MIG weld through it.
- Work time: It must cover spreading, panel placement, alignment, fastening and clamping at the actual product, panel and shop temperatures.
- Bond-line control: Use the specified cartridge, applicator and static mixer. Some formulations contain spacer beads to control adhesive thickness; both 3M 08115 and SikaPower-4720 document this feature.
- Cure conditions: Check product, panel and air temperature—not merely the clock. Moving a recently bonded vehicle from a heated bay into cold storage can slow strength development substantially.
This is narrower than choosing a general epoxy adhesive for metal: collision repairs also involve crash-energy management, corrosion protection and OEM joining requirements.
Work time and clamp time are product-specific
Two manufacturer documents illustrate why timings cannot be transferred between products:
| Example product | Permitted application temperature | Work/open time | Clamp or handling milestone | Stated cure milestone |
|---|---|---|---|---|
| 3M 08115 | Not stated as a range in the cited TDS; listed times are at 73°F (23°C) | 90 minutes at 73°F (23°C) | 4 hours if temperature remains at or above 73°F (23°C) | Full cure in 24 hours at a constant 73°F (23°C) |
| SikaPower-4720 | 50–86°F (10–30°C), applying to product, substrates and ambient conditions | 60 minutes at 73°F (23°C), 50% RH | 4.5 hours to reach 1 MPa at the stated conditions | 80% strength in 24 hours at the stated conditions |
These are not interchangeable specifications. Sika says one-sided application can reduce open time and final strength by as much as 50% and can reduce corrosion protection (SikaPower-4720 product data). Read the current sheet for the exact cartridge in hand.
Application sequence
Follow the OEM procedure and the adhesive instructions where they differ from this general sequence:
- Dry-fit first. Straighten the mating flanges, install the panel without adhesive, and confirm gaps, alignment, clamp access and fastener locations.
- Clean before abrading. Remove contamination with the approved cleaner. I-CAR identifies inadequate cleaning as a cause of adhesion failure and premature corrosion (I-CAR panel-bonding mistakes).
- Prepare only as specified. Many processes call for clean bare metal at the bond area, but e-coat, aluminum and composites may require different treatment. Do not add an adhesion promoter or primer unless the procedure calls for it.
- Equalize the cartridge. Dispense until both components flow, fit the specified mixer, then discard the initial bead length stated in the instructions. Do not mix cartridges and nozzles from different systems.
- Cover prepared metal. Where directed, tool a thin adhesive layer over the prepared mating faces for wetting and corrosion protection, then apply the assembly bead in the prescribed position and diameter.
- Place once and slide to align. Do not lift a panel back out of wet adhesive. I-CAR warns that separating it can trap air and weaken the bond line; slide the panel if repositioning is necessary (I-CAR panel-bonding mistakes).
- Clamp as specified. Use the required clamp type, spacing and pressure; complete specified welds or rivets within the allowed time; and tool squeeze-out where directed to close the bonded edge.
- Hold through the full clamp period. Maintain the minimum temperature. Do not load or return the vehicle to service until the product and repair procedure’s specified cure milestone has been reached.
- Restore corrosion and NVH protection. Replace required cavity wax, seam sealer, anti-flutter material and sound-deadening products.
Safety is part of product selection
Two-part automotive epoxies are professional chemicals, not household glue. The US SDS issued May 11, 2023 for the accelerator component of 3M 08115 classifies it as causing severe skin burns and eye damage and directs users to provide ventilation and wear protective gloves, protective clothing, and eye/face protection (3M 08115 safety data sheet). Review the current SDS for both cartridge components before use and follow workplace requirements for ventilation, PPE, spills and disposal.
If “panel” means wall cladding, insulation board, FRP wall sheet, wood paneling or an architectural sandwich panel rather than a vehicle body part, do not use this selection method. Those assemblies require a construction adhesive documented for the panel facing, substrate, environmental exposure, installation geometry and applicable fire or building-code requirements.