
5 min read ·
Choose an Adhesive for Carbon Fiber by the Joint
Choose carbon-fiber adhesive by the second material, load, gap and exposure. Compare epoxy alternatives, surface preparation and documented cure times.
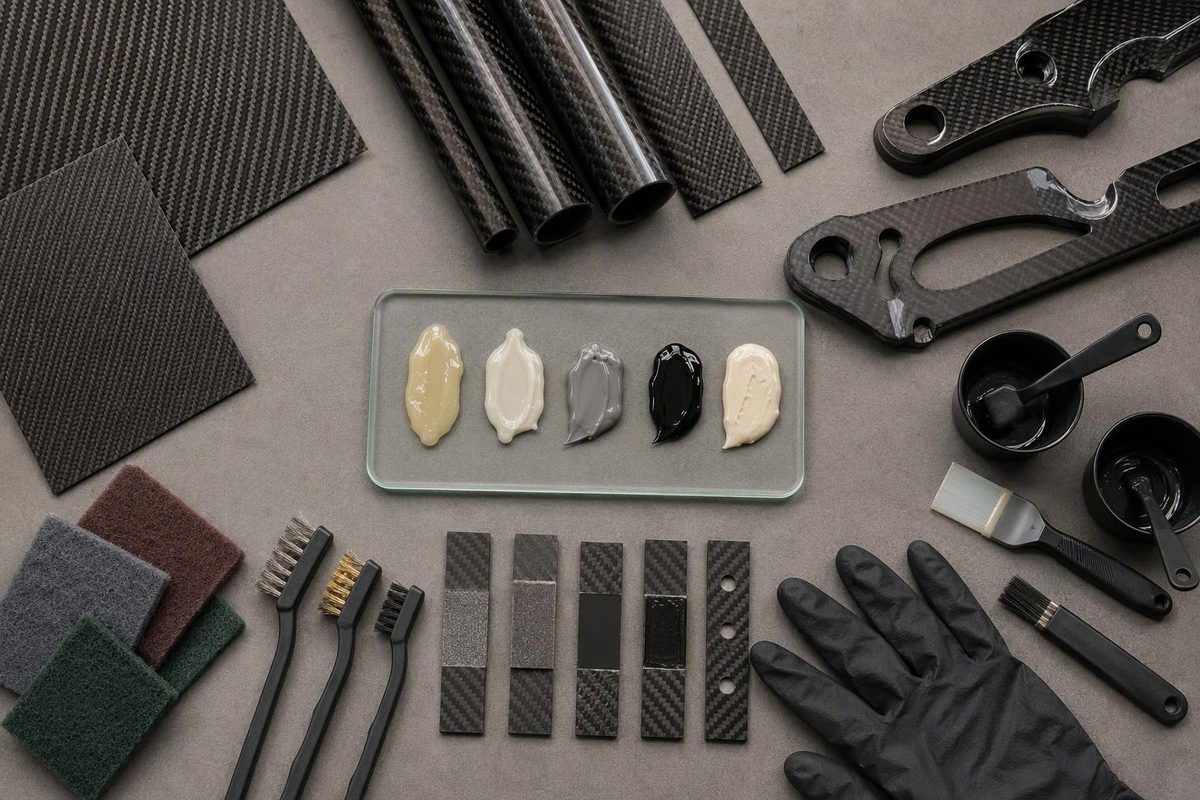
For bonding cured carbon-fiber parts, start with a toughened two-part structural epoxy documented for the composite and the second material. It is a useful starting point for rigid assemblies, tubes and fittings—not a universal answer. Structural acrylics, polyurethane adhesives and toughened cyanoacrylates also have carbon-fiber applications. Permabond’s carbon-fiber guidance identifies all four families; tube manufacturer Clearwater Composites generally recommends two-part epoxy for its tubing.
This guide concerns cured carbon-fiber reinforced polymer (CFRP), not wetting out dry carbon cloth to manufacture a laminate. A cracked bicycle frame, prosthetic component or other safety-critical part needs an approved repair design and qualified assessment, not simply a stronger glue.
Identify the surfaces and the joint
Before selecting an adhesive, establish:
- The actual bonding surface: identify the composite’s resin system and any paint, clear coat or other finish. Do not assume a visible carbon weave means the adhesive will contact the underlying composite.
- The second material: carbon fiber, aluminum, steel, wood or a specific plastic. Compatibility with CFRP alone does not establish compatibility with the other side.
- The gap and geometry: measure the clearance and available overlap. A close-fitting sleeve is a different job from bridging an irregular gap.
- The load and exposure: include peel, impact, vibration, sustained loading, water, chemicals and minimum/maximum service temperatures.
- The assembly time: allow time to mix, coat, position and fixture every part before the adhesive’s usable life expires.
Joint area also matters. WEST SYSTEM identifies adhesive strength, surface preparation and adequate bonding area as separate contributors to joint strength; overlap, scarf joints and fillets can increase the effective area. A narrow edge-to-edge joint should not be treated as equivalent to a broad overlapping bond. Bonding and clamping guidance
Which adhesive family fits?
| Adhesive family | When to investigate it | What to verify |
|---|---|---|
| Toughened two-part epoxy | Rigid assemblies, tube fittings and controlled gaps | Both substrates, bond-line thickness, working time, peel/impact performance and cure schedule |
| Structural acrylic/MMA | An alternative structural bonding process, including faster assembly | Explicit CFRP compatibility, required activator or primer, working time and environmental limits |
| Two-part polyurethane | Carbon-fiber interior trim or joints needing greater compliance | Actual stiffness, load capability, gap limits and exposure—not merely a “flexible” label |
| Toughened cyanoacrylate | Small, close-fitting parts where rapid fixturing matters | A CFRP-qualified grade, permissible gap and service conditions |
| One-part heat-cure epoxy | Controlled production with heating equipment | Cure temperature and compatibility of the entire assembly with that heat cycle |
These are screening categories, not approvals for every product in a family. Permabond lists toughened CA grades and structural acrylics for CFRP, and specifically identifies two-part polyurethane for carbon-fiber interior trim. Carbon-fiber adhesive options and composite applications
For a small CA assembly, the separate cyanoacrylate selection guide explains why fast fixture time is not the same as full cure.
Prepare without damaging the laminate
Use the composite supplier’s preparation instructions together with the adhesive datasheet. There is no universal sanding grit for carbon fiber. Permabond recommends light abrasion with 320-grade wet-and-dry paper or a red Scotch-Brite pad; Clearwater specifies 120-grit preparation for its tubes. Those are different documented processes, not interchangeable rules. Permabond preparation · Clearwater tube preparation
A practical sequence is:
- Dry-fit and mask. Confirm alignment, clearance and fixture access before mixing.
- Remove contamination before abrasion. Address grease, wax and mold release with a cleaner compatible with the composite and finish. Permabond specifies its Cleaner A or isopropanol and warns against methylated spirits and white spirits because they can leave residue. If cured epoxy has a wax-like amine blush, first remove it with clean water and an abrasive pad, then dry. A solvent wipe alone is not adequate for blush removal. WEST SYSTEM surface preparation
- Abrade only as specified. Prepare the bonding area without cutting into or damaging reinforcing fibers. Exel explicitly warns against damaging the composite during roughening. Exel preparation guidance
- Remove dust and complete the specified cleaning. Allow solvent to evaporate fully and avoid touching prepared surfaces with bare hands.
Use ventilation, eye protection, suitable gloves and dust controls appropriate to the sanding operation. Read the adhesive and cleaner safety datasheets before use; Clearwater includes ventilation, glasses, gloves and respiratory protection where needed in its bonding procedure.
Mix, fixture and allow full cure
Follow the product’s exact mix ratio; do not assume equal parts or substitute a weight ratio for a volume ratio. Coat the surfaces as directed and join within the usable working time. Higher temperatures and larger mixed batches can shorten that time, as the ET5428 BLACK datasheet warns.
Hold alignment without squeezing the joint dry. WEST SYSTEM warns that excessive clamping pressure can expel too much epoxy. Gap-filling capacity is not a recommended bond-line thickness: use the thickness specified for your adhesive and joint design. Clamping guidance
Two documented industrial examples show why cure planning changes the choice:
| Product | Mix ratio by volume | Usable working time | Documented cure |
|---|---|---|---|
| Permabond ET5428 BLACK | 2:1 | 10–20 minutes at 23°C (73°F), 10 g mixed | Handling: 30–45 minutes; full cure: 24–48 hours at 23°C |
| 3M Scotch-Weld DP490 | 2:1, B:A | 90 minutes at 23°C (73°F), 45 g mixed | Cure: 48 hours at 24°C (75°F) |
Sources: ET5428 BLACK datasheet, revised May 7, 2026 and DP490 datasheet, revised May 2026. ET5428 BLACK is labeled for professional or industrial use only; 3M’s industrial-product disclaimer says DP490 is not intended for consumer use unless its packaging or literature states otherwise. These are process examples, not home-use recommendations. Their working-time tests use different mixed quantities, so the figures are planning references rather than a like-for-like comparison.
ET5428’s datasheet reports carbon-fiber test specimens failing in the substrate. That does not establish the capacity of your assembly: laminate construction, preparation, overlap and loading still govern. Do not apply service loads merely because the adhesive has reached handling strength.
Carbon fiber to aluminum: include corrosion protection
Carbon fiber can promote galvanic corrosion of aluminum when electrically coupled in a wet environment. Original research documents this risk and the benefit of electrical separation; Clearwater also identifies a nonconductive fiberglass layer as one isolation approach. Do not assume any glue layer or anodized finish guarantees durable isolation. Specify the aluminum preparation and corrosion-protection system as part of the joint design. Published corrosion research · Clearwater assembly guidance
For a load-bearing assembly, validate the selected adhesive and preparation on representative parts under the intended loading and exposure before relying on the bond.