
4 min read ·
How to Bond Steel and Stainless Steel
Choose adhesives for carbon steel and stainless steel by joint fit, load and exposure. Learn surface preparation, mixing, clamping and cure limits.
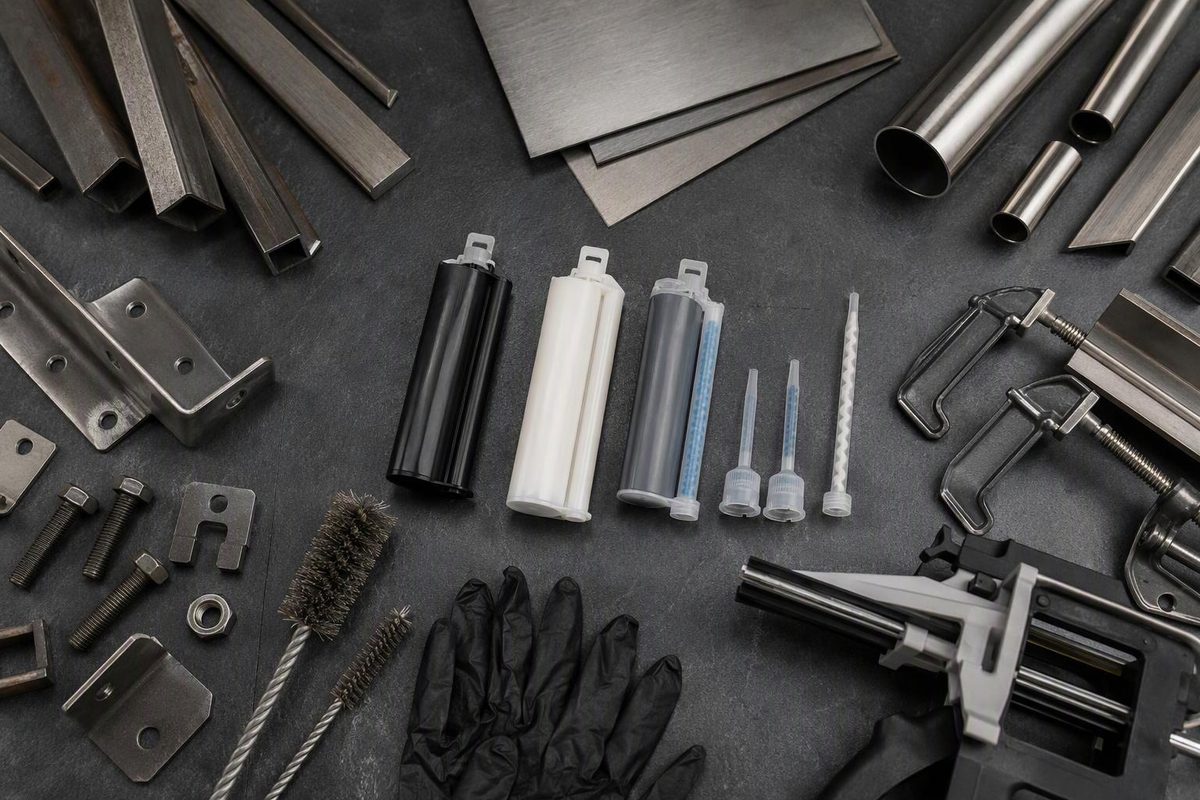
Carbon steel and stainless steel can both be bonded with adhesives. For a load-bearing metal-to-metal joint, start by evaluating a toughened two-part epoxy or structural acrylic. Super glue is better suited to small, close-fitting repairs; anaerobic products belong in matched applications such as threads and shaft-to-hub assemblies. Permabond’s steel guidance identifies these adhesive families, while its stainless-steel guide explains their different uses.
Stainless steel is a type of steel, not a separate material category. For adhesive selection, distinguish bare carbon steel from stainless steel—and both from painted, powder-coated or plated surfaces. The surface touching the glue matters as much as the metal underneath.
Choose by joint, not just by metal
Before selecting a grade, record:
- Both substrates: carbon steel to stainless steel, stainless to stainless, or metal to another material.
- Joint fit: a tight contact joint or a measurable gap in millimetres.
- Load: sliding/shear, direct pull, vibration, impact or an edge being pried upward.
- Exposure: water, cleaning chemicals, outdoor weather and minimum/maximum service temperatures.
- Assembly constraints: available working time, access for clamps and whether heating is practical.
| Joint or requirement | Adhesive family to evaluate | Important limit |
|---|---|---|
| Metal-to-metal assembly needing strength, toughness and gap filling | Toughened two-part epoxy | Verify the specific grade’s gap, temperature and exposure limits |
| Structural assembly needing faster strength development | Structural acrylic, including MMA grades | Follow the specified mixing or activator process; do not assume all grades use the same method |
| Small, close-fitting repair with low structural demand | Metal-compatible cyanoacrylate, or super glue | Not a default for large bond areas or demanding structural joints |
| Thread locking, thread sealing or a close-fitting shaft/hub joint | Application-specific anaerobic adhesive | Stainless steel is relatively inactive; verify cure on it and any activator requirement |
These distinctions follow Permabond’s stainless-steel adhesive guidance. Its anaerobic-curing guidance explains how surface conditioners can enable or accelerate cure on inactive surfaces. A chemistry name alone is not a compatibility or load rating.
Arrange the joint so the load is carried across a bonded area rather than concentrated at an edge. A bracket that pries away from a panel can fail despite an impressive lap-shear number: peel and cleavage are different loading conditions from shear. 3M’s joint-design guidance explains why edge-concentrated loads can cause premature failure, especially with vibration or impact.
For steel bonded to timber, use the separate steel-to-wood selection and preparation guide. The second substrate changes the decision.
Prepare the actual bonding surface
The practical baseline is degrease, abrade, clean again, then bond—subject to the selected adhesive’s instructions. Carbon steel and stainless steel need different precautions.
Bare carbon or mild steel
- Remove rust and loose debris; do not bond over loose corrosion.
- Degrease before sanding so abrasion does not work oil into the surface.
- Abrade the bond area using clean abrasive material.
- Clean again to remove particles and contamination, then allow the solvent to evaporate.
- Bond promptly: the prepared surface can re-oxidize.
Permabond’s mild-steel procedure recommends 320-grade abrasive paper or a suitable abrasive pad and lists acetone or isopropanol for degreasing. Treat that as manufacturer guidance, not a universal preparation specification for every adhesive.
If the steel is painted or powder coated, decide whether the coating should remain. Bonding to it makes coating adhesion part of the joint’s strength limit. Removing it exposes steel that may need a separate corrosion-protection plan.
Stainless steel
Degrease, then abrade the hidden bond area where practical. Mask adjacent visible surfaces: abrasion can permanently spoil a polished or mirror finish. If abrasion is unacceptable, ask the adhesive supplier for a validated alternative rather than assuming a solvent wipe will deliver the same performance. Permabond discusses these stainless preparation constraints.
Keep stainless preparation tools separate from carbon-steel tools. Do not use carbon-steel wire brushes or abrasives previously used on carbon steel. Embedded iron and grinding debris can rust and contaminate stainless surfaces, as documented by the Australian Stainless Steel Development Association.
Apply, secure and allow the full cure
Dry-fit the parts and arrange supports before mixing. Follow the specified resin/hardener ratio; volume and weight ratios are not necessarily identical. Apply to clean, dry surfaces and secure the assembly without squeezing away the required adhesive layer. Use the manufacturer’s bond-line guidance rather than a universal clamp-pressure rule.
A documented industrial example is 3M Scotch-Weld DP420 Black, a toughened two-part epoxy. It is labeled for industrial/occupational use, not consumer sale or use.
Its September 2024 technical data sheet reports typical overlap-shear results of 15 MPa on cold-rolled steel and 12 MPa on stainless steel, tested at 23°C after seven days under ASTM D1002/ISO 4587. Preparation was MEK solvent/abrasion/MEK solvent, with a 0.13–0.20 mm bond line.
Those are laboratory results—not allowable loads for a bracket, and not a test of carbon steel bonded directly to stainless steel. They show why substrate, preparation, thickness and test conditions must accompany a strength claim. The test preparation is not a substitute for your adhesive’s application and safety instructions.
For that exact Black grade, 3M’s US product guidance, checked in October 2026, lists 20 minutes working time, approximately 2.5 hours to handling strength, and 24 hours to full cure at 23°C (73°F). Handling strength is not permission to apply the full service load. Other grades and temperatures require their own schedule.
Read the adhesive and cleaner safety information before starting; follow ventilation, eye-protection and glove requirements, and keep flammable solvents away from ignition sources. For overhead or safety-critical attachments, obtain a validated joint design rather than substituting a generic glue recommendation for specified fasteners or welding.