
5 min read ·
Glue-Down Vinyl Flooring: Match the Adhesive, Prep the Subfloor and Roll It
A manufacturer-first guide to glue-down LVT, vinyl plank, tile and sheet flooring: adhesive choice, moisture checks, troweling, rolling and cure.
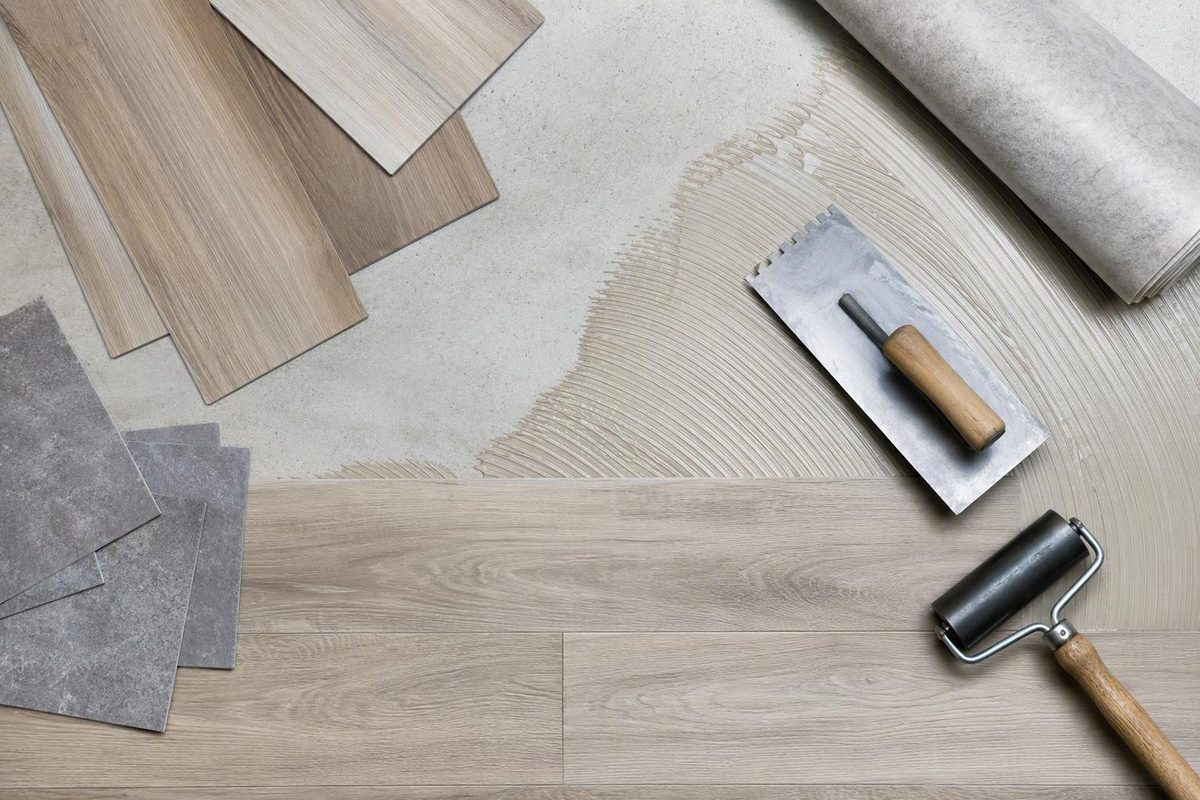
For glue-down vinyl, use the flooring manufacturer’s approved adhesive, the adhesive maker’s specified trowel, and the installation method listed for that exact floor covering. Do not choose an adhesive merely because the pail says “vinyl.” LVT, vinyl plank, vinyl tile and sheet vinyl may require different wet-set, pressure-sensitive or hard-set methods.
The installation sequence is:
- Identify the flooring and approved adhesive.
- Test and prepare the substrate.
- Acclimate the flooring and adhesive as directed.
- Establish the layout before spreading glue.
- Spread only the area you can cover within the adhesive’s working time.
- Place the flooring at the specified wetness stage.
- Roll it within the working time, clean adhesive promptly and protect the cure.
Choose the adhesive by flooring and service conditions
Start with the flooring installation guide. The adhesive must explicitly cover the flooring construction and substrate—not just “vinyl” in general. For example, HENRY 695 lists LVT, solid vinyl plank and tile, several sheet-vinyl constructions, VCT and VET, but only when the flooring manufacturer calls for a fully adhered installation (HENRY).
Then account for how the room will be used:
| Installation condition | What to confirm in the adhesive documents |
|---|---|
| Ordinary residential LVT/plank | Exact flooring approval, substrate approval, moisture and pH limits |
| Strong sunlight or temperature swings | Whether a hard-set, moisture-curing or two-part adhesive is required |
| Heavy rolling or static loads | Load rating and whether pressure-sensitive installation is excluded |
| Bathroom or frequent top-down spills | Approval for that exposure; “waterproof flooring” does not automatically qualify the adhesive |
| Sheet vinyl | Backing compatibility, wet-set procedure, seam treatment and rolling method |
Pressure-sensitive and wet-set describe application states, not interchangeable product categories. One adhesive may permit both. HENRY 695, for example, allows sheet flooring to be positioned while the adhesive is wet and lets vinyl tile or plank be placed after it becomes dry-to-the-touch, with up to four hours of working time (HENRY). Read our separate explanation of how pressure-sensitive adhesive works if the distinction is unfamiliar.
Prepare the substrate before opening the adhesive
The floor must be structurally sound, clean, dry, smooth and flat. Remove dust, oil, grease, paint, curing compounds, sealers and weak residues that could sit between the adhesive and substrate. Patch cracks and depressions with a compound approved for resilient flooring, then sand or otherwise finish the patch as its manufacturer directs. Shaw’s current commercial LVT instructions, for example, require no more than 1/8 in. over 6 ft (3.2 mm over 1.8 m) or 3/16 in. over 10 ft (4.8 mm over 3.0 m) deviation; use the tolerance stated for your own flooring rather than assuming those numbers apply universally (Shaw).
Concrete requires documented moisture testing, not a visual guess. The acceptable ASTM F1869 moisture-vapor-emission rate, ASTM F2170 in-slab relative humidity and pH depend on the flooring-and-adhesive system. Shaw’s guide expressly directs installers to compare test results with the selected adhesive’s limits (Shaw). A high-moisture-rated adhesive does not repair a missing vapor retarder or make an out-of-limit slab acceptable unless the complete system documentation says so.
Wood panels, existing resilient flooring, ceramic tile and gypsum-based underlayments each have separate requirements. Seams, fasteners, grout lines and texture can telegraph through thin vinyl, so they may need an approved skim coat or underlayment. Do not assume OSB, particleboard or an old cushioned floor is a direct-bond surface.
Stop before mechanically disturbing old flooring or black adhesive of uncertain composition. EPA says asbestos-containing material cannot be identified reliably by appearance and advises against sanding, scraping, drilling or power-stripping flooring that may contain asbestos; sampling should be handled by a trained, accredited professional (EPA).
Acclimate and lay out the floor
Follow the product-specific temperature and acclimation period. As one example—not a universal rule—Shaw’s commercial plank-and-tile guide calls for the space to remain at 65–85°F (18–29°C) and for both flooring and adhesive to acclimate for 48 hours (Shaw). Keep cartons flat, inspect pieces in good light and mix material from several cartons if instructed.
Dry-plan the installation before spreading adhesive. Establish straight reference lines and adjust the layout to avoid conspicuously narrow perimeter cuts. Make the first spread small enough that every piece can be placed and rolled before the adhesive’s working time expires.
Spread, place and roll
- Use the named trowel. Notch shape and size regulate adhesive quantity. Do not substitute based on appearance. HENRY 695, for example, specifies a 1/16 × 1/16 × 1/16 in. square-notch for its recommended flooring, while also listing a different U-notch for extremely flat substrates (HENRY). Replace or re-notch a worn trowel.
- Observe flash/open time. Start the timer when spreading begins. Place flooring wet, semi-wet or dry-to-touch only as the adhesive instructions require. Temperature, humidity, porosity and spread rate can change readiness, so use the documented appearance or touch test as well as the clock.
- Set pieces without tension. Place planks or tiles tightly according to the pattern, but do not force or compress them. Keep adhesive out of joints and wipe fresh transfer from the face using the approved cleaner.
- Roll within working time. Use the roller weight specified by the flooring maker and roll in both directions. Shaw specifies a three-section 100 lb (45 kg) roller for its commercial plank and tile, including re-rolling within the adhesive’s working time (Shaw). Karndean’s gluedown guide specifies a 68 kg (150 lb) roller for its system, demonstrating why roller weight should not be guessed (Karndean).
- Respect cure and traffic limits. Keep people, furniture, rolling loads and washing off the floor for the stated period. Karndean directs installers to keep its gluedown planks and tiles free from traffic for 24 hours and to maintain the acclimation climate afterward (Karndean). Your selected system may require a different interval.
Avoid the failures that look like “bad glue”
- Gaps or peaked joints: wrong adhesive state, late rolling, temperature instability or flooring installed under tension.
- Hollow or loose areas: insufficient transfer from a worn/wrong trowel, dusty substrate, skin formed before placement or failure to roll.
- Ridges and telegraphing: subfloor defects left under thin flooring or excess adhesive from the wrong notch.
- Adhesive at seams: too much spread, wet placement when dry placement was required, or traffic before cure.
- Bond loss over concrete: moisture or pH outside the system limits, contaminants, or an incompatible patch/primer.
Before starting, place the flooring instructions and adhesive technical data sheet side by side. If their requirements conflict, do not average them: obtain a written system recommendation from the flooring or adhesive manufacturer.