
5 min read ·
Glue Steel to Wood: Choose by Joint, Not Just Strength
Choose an adhesive for steel-to-wood joints, prepare bare or coated surfaces, clamp without starving the bond, and allow the right cure time.
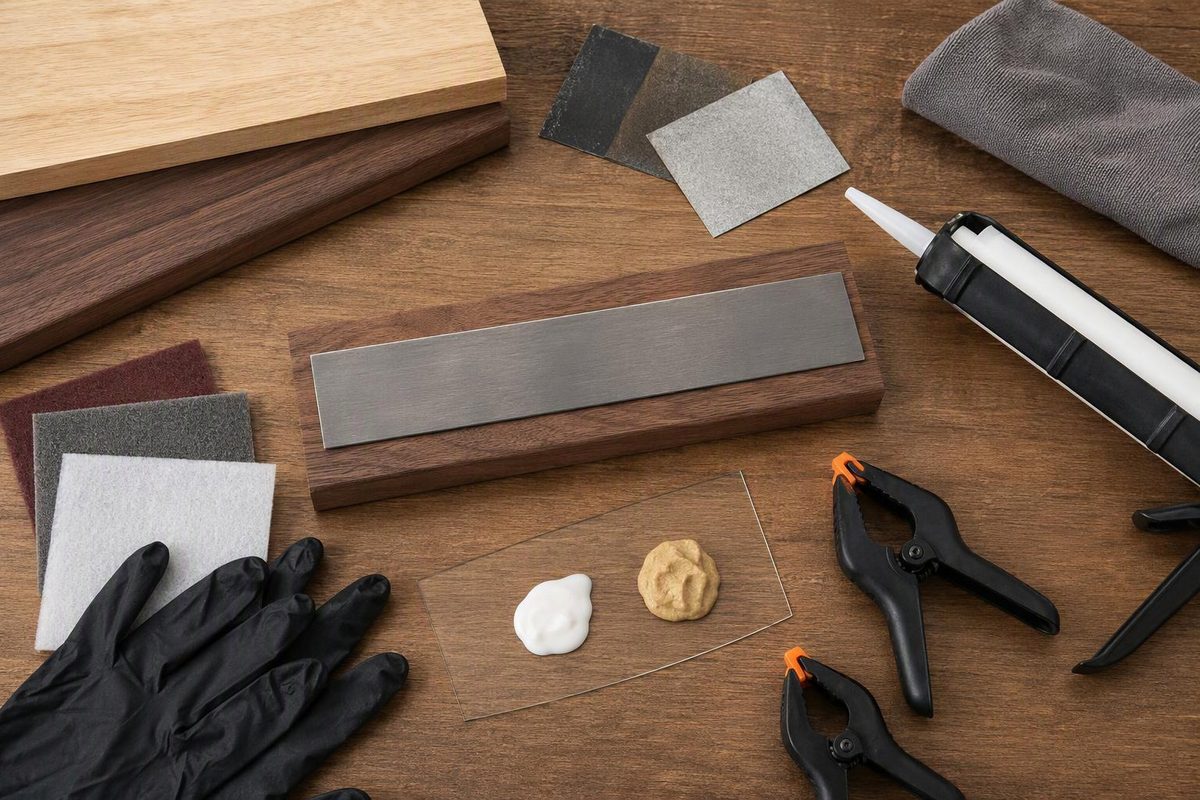
For a small, permanent steel-to-wood attachment, start with a two-part bonding epoxy explicitly suitable for both materials. A toughened epoxy is worth considering where shock, vibration or modest differential movement is expected. For trim and general construction attachments, a polyurethane construction adhesive rated for wood and the particular steel surface is another option.
Compatibility alone does not establish load capacity. Before choosing glue, identify the steel finish, wood surface, gap, load and exposure—and whether the attachment must allow wood movement.
Match the adhesive to the joint
| Joint or condition | Starting choice | Decision that matters |
|---|---|---|
| Small plate or fitting on bare wood; permanent attachment | Two-part bonding epoxy | Adequate overlap, sound substrates and a controlled gap |
| Attachment exposed to shock or vibration | Toughened bonding epoxy | Check the grade’s suitability; toughness does not replace joint design |
| Trim or general construction attachment | Wood-and-metal-rated polyurethane construction adhesive | Follow its application pattern, moisture requirements and support time |
| Wide solid-wood tabletop attached to a steel base | Movement-accommodating mechanical fasteners | Do not lock seasonal wood movement with a continuous rigid bond |
| Heavy overhead attachment or safety-critical bracket | Designed mechanical connection or professionally specified bonded joint | Do not select glue from a package strength claim alone |
A broad overlapping joint is preferable to attaching the thin edge of a steel plate. WEST SYSTEM’s instructions identify bond area as a separate requirement from adhesive strength and surface preparation; increasing overlap can improve the joint’s ability to transfer load. G/flex bonding instructions
For a solid-wood tabletop, secure attachment must still permit expansion and contraction with seasonal humidity. Use a steel-base fastening arrangement designed to allow that movement rather than gluing the entire base to the top. WOOD’s tabletop attachment guidance
Prepare the actual bonding surfaces
Steel: identify bare metal versus a coating
On bare carbon steel prepared for epoxy, remove oil and grease before abrasion so you do not grind contamination into the surface. Remove rust and loose scale, then sand or grind the bonding area to bright metal. Remove dust and avoid touching the prepared area with bare fingers. WEST SYSTEM recommends clean, dry, abraded surfaces and specifically calls for bright-metal preparation on steel. Surface-preparation guidance
Painted or powder-coated steel is a different bonding surface. If you retain the finish, you are bonding to that coating, so its adhesion to the steel matters too. Remove loose coatings; for intact coatings, verify adhesive compatibility and test the complete coating–adhesive assembly. Do not assume bare-steel instructions apply unchanged.
Galvanized and stainless steel also need their own compatibility check. Do not interpret a bare-carbon-steel preparation method as an instruction to strip galvanizing. Choose a grade with guidance for the actual surface.
Wood: sound, clean and dry
Bond to sound wood rather than loose fibers, dust, wax or a failing finish. If a finish remains, verify compatibility and its attachment to the wood. Sand the bonding patch as directed and vacuum or brush away dust.
For G/flex 655, the manufacturer specifies 80-grit sanding parallel to the grain on hardwoods and says 6–12% wood moisture content is best for reliable long-term bonds. Oily species require additional preparation. These are product-specific instructions, not a universal moisture limit for every adhesive. G/flex preparation instructions
Apply and cure: two documented options
Dry-fit the parts first. Confirm the contact area, measure the gap, and arrange clamps or supports before opening the adhesive. “Gap-filling” does not mean an unlimited allowable gap; obtain the manufacturer’s limit when the fit is substantially uneven.
Toughened epoxy: G/flex 655 example
WEST SYSTEM describes G/flex 655 as a non-sagging, toughened two-part epoxy for metals, woods and dissimilar materials. It is more flexible than standard epoxies but much stiffer than adhesive sealants. Product specifications
For this specific product:
- After exposing bright bare steel, clean it with acetone or lacquer thinner using white paper towels, as its instructions direct. Allow the surface to dry completely.
- Mix resin and hardener thoroughly at 1:1 by volume.
- Apply a thin coat to the steel, then immediately abrade through the wet epoxy with a fine wire brush or sandpaper.
- Apply mixed adhesive to both prepared mating surfaces, with enough to bridge the joint’s voids.
- Clamp only hard enough to produce a little squeeze-out. Do not squeeze the joint dry.
At 72°F (22°C), the instructions permit clamp removal after a workable cure of 7–10 hours and require 24 hours before high loads. Cooler conditions slow curing. These times do not transfer to other epoxy formulations. Application and cure instructions
Polyurethane construction adhesive: PL Premium example
The US Loctite PL Premium formulation lists wood, stainless steel and galvanized metal among its substrates. Its technical sheet reports plywood-to-stainless-steel and plywood-to-hot-galvanized-steel bond tests, making it a documented option rather than a recommendation based solely on an “all-purpose” label.
Apply to one clean surface and press the parts together within 15 minutes, following the current product-page directions. Provide mechanical support for 24 hours. The linked US technical sheet, revised December 12, 2019, specifies 24–48 hours cure at 78°F (25°C), 50% relative humidity, with timing affected by temperature, humidity, substrate porosity and adhesive quantity. Cold or dry conditions can significantly extend cure time; support time is not proof of full cure.
For large sheet goods, two non-porous surfaces, or conditions below 30% relative humidity, that sheet directs a very light, atomized water spray onto the extruded adhesive. This reduces repositioning time to less than 15 minutes. It excludes marine and water-submersion applications. Check the label and technical sheet for the exact product sold in your market. PL Premium technical data sheet
Wear suitable gloves and eye protection, provide ventilation, and follow the adhesive and cleaning-solvent safety instructions. Test a representative offcut assembly before committing valuable parts; for load-bearing work, an informal test is not a substitute for a designed connection.
For more on gaps and movement, see choosing an epoxy adhesive for wood. If repairing a failed joint, first follow the guidance on removing adhesive from wood, then restore sound bonding surfaces before reassembly.