
5 min read ·
How to Remove Adhesive From Wood: Start With the Finish
Remove wood glue, tape residue, super glue or epoxy from bare and finished wood using the least aggressive compatible method.
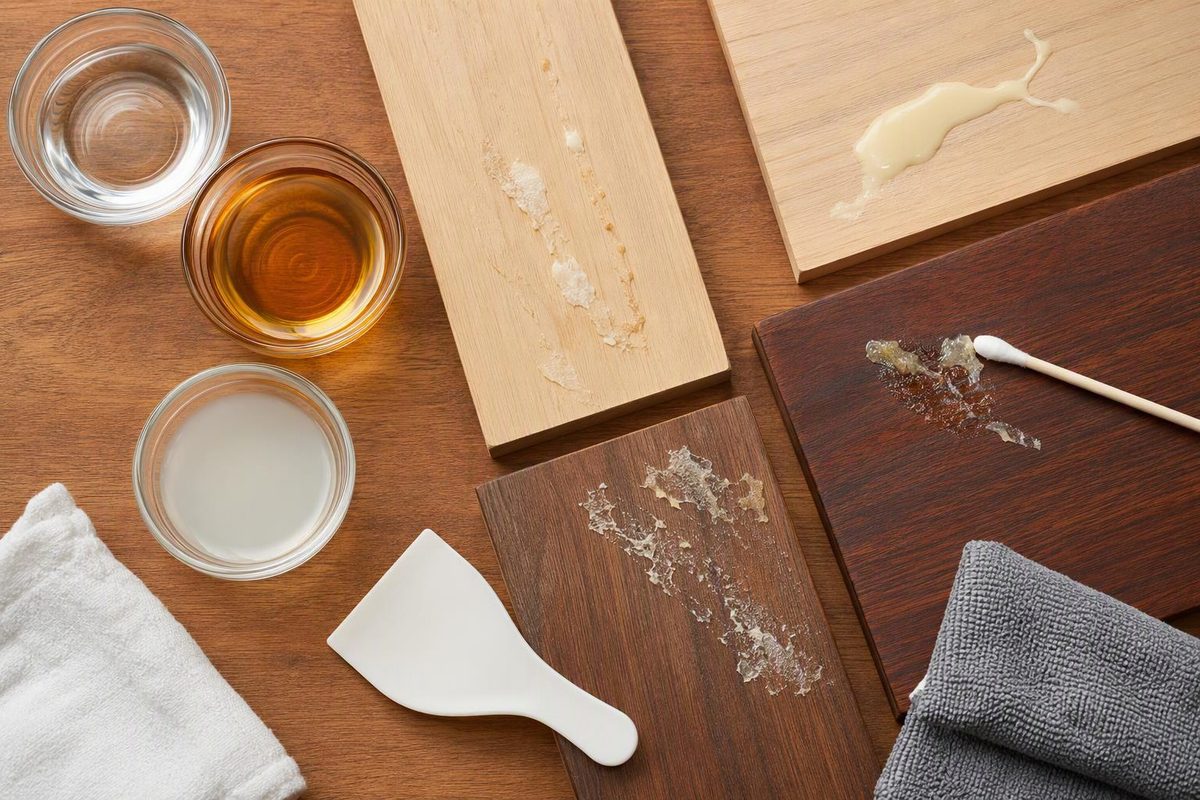
Start with a plastic scraper. Remove the raised adhesive dry, then introduce mild heat, a little water or a solvent only when the adhesive and the wood finish permit it. Bare wood can usually tolerate careful scraping and sanding; finished wood requires a compatibility test before any liquid is used.
Do not begin with acetone, lacquer thinner or a heat gun. Solvents can soften or discolor finishes, while concentrated heat can blister them. If the piece is antique, veneered or finished with an unknown coating, avoid sanding and strong solvents until you know what the surface can tolerate.
Choose a method by adhesive and surface
| Adhesive | Bare wood | Finished wood |
|---|---|---|
| Wet PVA/wood glue | Blot, then wipe with a barely damp cloth | Blot promptly; use as little water as possible |
| Dried PVA/wood glue | Scrape, then sand with the grain | Lift with a plastic scraper; do not sand unless you intend to repair the finish |
| Tape or sticker residue | Warm gently, peel, then roll off the residue | Use low heat and test any cleaner in a concealed spot |
| Cyanoacrylate/super glue | Scrape or sand; acetone may soften some products | Avoid acetone unless compatibility with the finish is established |
| Cured epoxy or construction adhesive | Remove the raised bulk mechanically, then sand if appropriate | Finish damage is likely; consider leveling the residue and touching up the finish |
| Unknown adhesive | Start dry with a plastic scraper | Start dry and do not guess with a strong solvent |
1. Identify bare wood and the finish
Bare wood readily absorbs water, oil and solvent. Finished wood may have a film-forming coating or a penetrating finish that can soften, turn cloudy or lose gloss when exposed to a cleaner.
When a finish is unknown, test the proposed cleaner on the underside or another concealed area and allow it to dry before judging the result. Minwax describes spot tests for three common film finishes: denatured alcohol softens shellac, lacquer thinner softens lacquer, and a finish unaffected by either may be polyurethane. That is a limited identification test, not proof that an unknown finish will tolerate every other solvent (Minwax).
For valuable furniture or an original antique finish, do not sand or apply solvent without advice from a furniture conservator.
2. Remove the bulk adhesive dry
- If the adhesive is wet, blot it rather than spreading it across the grain.
- Hold an old plastic card or plastic putty knife at a low angle.
- Push gently under an exposed edge, working with the grain.
- Stop if wood fibers, stain or clear finish begin to lift.
Avoid razor blades on finished wood: a sharp edge can cut through the coating before the damage is obvious. Be especially conservative with veneer because sanding through its thin face layer exposes the substrate.
3. Treat the remaining film
Water-based wood glue
For wet white or yellow wood glue, transfer as much as possible to a clean cloth, then wipe with a cloth lightly dampened with water. Do not flood unfinished end grain, joints or veneer edges.
After water-based glue has dried, scrape or sand it. Titebond recommends a damp cloth for most of its water-based wood glues before they dry, followed by scraping or sanding after drying. It says steam may soften the glue but will not remove adhesive from the wood pores (Titebond wood-glue FAQs).
Before staining bare wood, remove glue from the pores rather than merely flattening the bead. Residue can prevent stain from penetrating evenly. Sand with the grain and blend the repair into the surrounding area instead of creating a small hollow.
Tape and sticker adhesive
Pull the tape slowly back over itself, nearly parallel to the wood. If it resists, use a hair dryer on its lowest useful setting, keep it moving and stop if the finish becomes warm enough to soften. Roll loosened residue with a fingertip or a clean crepe-rubber pickup.
Furniture-finishing guidance recommends heat to soften sticker adhesive but also warns that heat guns can blister a finish (Popular Woodworking). A hair dryer provides more control, but it still requires a concealed test and continuous movement. For more on the residue itself, see how pressure-sensitive adhesive works.
If tack remains, use a cleaner only when its current label permits use on that type of finish. Apply a small amount to a cloth rather than pouring it onto the wood, work briefly, and wipe with a second clean cloth. Do not use cooking oil on bare wood that will later be coated or bonded; absorbed oil can interfere with that work.
Super glue
On bare wood, reduce a raised drop with a scraper and sand the remainder. Titebond says its cured Instant Bond cyanoacrylate can be removed with acetone or sanding, but that product-specific advice does not establish that acetone is safe for a furniture finish (Titebond).
Use acetone only after confirming compatibility, and follow the solvent label and safety data sheet. Eliminate flames, sparks and other ignition sources, prevent skin and eye contact, and provide effective ventilation. NIOSH lists acetone as a Class IB flammable liquid with a 0°F (-18°C) flash point and identifies inhalation, ingestion, skin contact and eye contact as exposure routes (NIOSH Pocket Guide). Never combine an acetone step with a hair dryer or heat gun.
Epoxy and other cured reactive adhesives
Cured epoxy generally requires localized mechanical removal. Sanding, chipping or scraping can reduce the residue, although complete removal is not always possible. Chemicals capable of softening epoxy can also attack surrounding plastics and finishes, according to MG Chemicals’ cured-epoxy guidance.
On bare wood, remove the raised mass first, then sand only as much wood as necessary. On a finished or veneered panel, leveling a small mark and repairing the finish may cause less damage than pursuing complete removal with heat or solvent. If the epoxy forms a structural joint rather than an accidental spill, consult how epoxy behaves in wood joints before trying to separate the parts.
4. Inspect before refinishing or rebonding
Allow the area to dry fully, then inspect it under low-angle light for remaining adhesive, scratches and changes in gloss. Remove sanding dust by the method specified by the next coating or adhesive manufacturer. Do not apply stain, finish or fresh glue over oily remover residue.
If removal cut through an existing finish, the adhesive may be gone but the surface still needs repair. Color matching and recoating should suit the existing finish; an incompatible topcoat can enlarge a small damaged area.