
4 min read ·
How to Choose an Adhesive for Lexan Polycarbonate
Choose Lexan adhesive by joint fit, coating, load and exposure. Compare bonding options, avoid stress cracking, and separate handling from full cure.
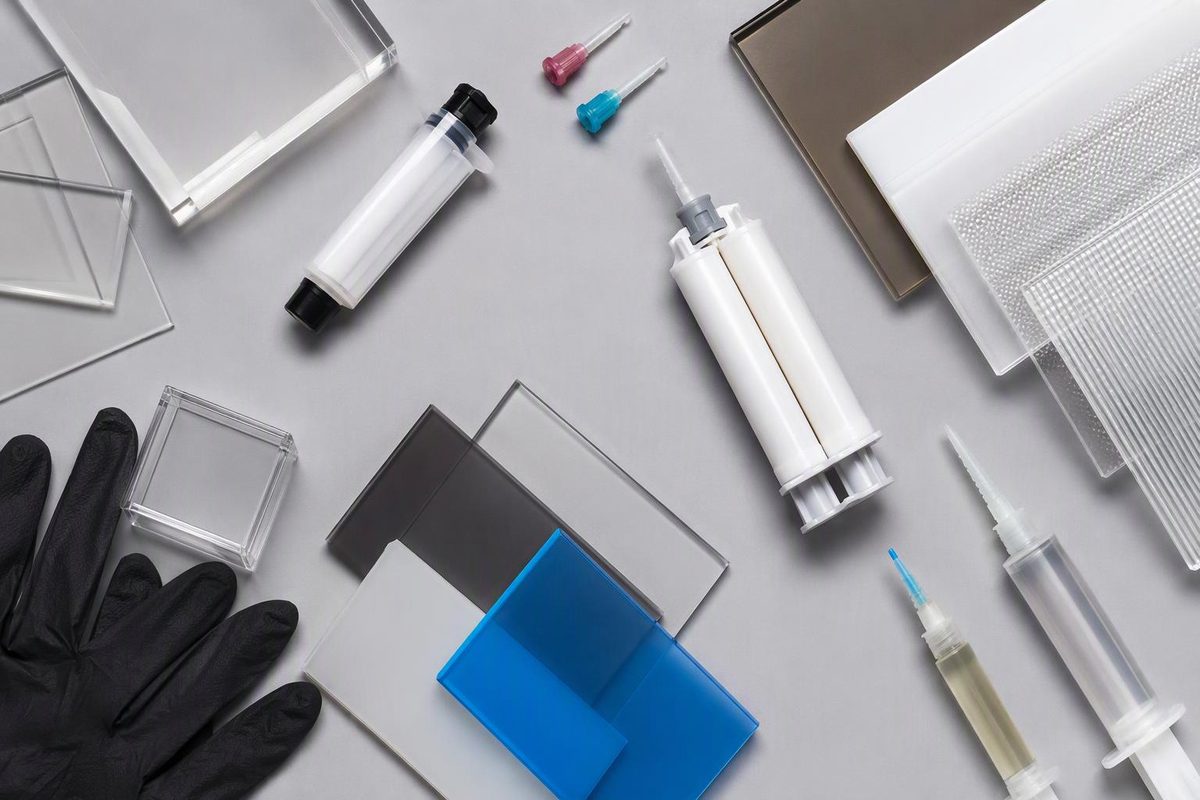
Lexan is polycarbonate (PC), so choose an adhesive documented for polycarbonate and the second material—not simply one labeled “plastic glue.” For small, close-fitting joints, consider a PC-qualified cyanoacrylate. For larger bonded assemblies, compare qualified two-part epoxy, polyurethane or structural acrylic grades. For glazing seals, use a sealant approved for the exact sheet grade and installation. POLYVANTIS’s Lexan processing guide identifies several compatible adhesive families but requires application-specific testing.
The main compatibility trap is stress cracking: a bond can hold while the surrounding plastic develops crazing or cracks. Polycarbonate is susceptible, particularly when chemicals act on an already stressed part. Permabond’s stress-cracking guidance identifies load, temperature, cleaners and adhesive type as contributing factors.
Match the adhesive to the job
Before choosing, identify the second substrate, measure the joint gap in millimetres, and decide whether the assembly must remain clear, flex or carry load. Record expected service temperatures, moisture and outdoor exposure. Also identify the Lexan grade and which face will be bonded: uncoated sheet, UV-protected sheet and abrasion-resistant MARGARD surfaces are not interchangeable compatibility cases.
| Joint or requirement | Adhesive route to investigate | Main selection check |
|---|---|---|
| Small, closely fitted PC-to-PC or mixed-material joint | PC-qualified cyanoacrylate | Maximum gap, stress cracking and white residue around the joint; consider a low-bloom grade for appearance |
| Larger assembly or controlled gap | PC-qualified two-part epoxy or polyurethane | Approval for both surfaces, permitted bond-line thickness and the cured adhesive’s stiffness |
| Outdoor bonded assembly | PC-qualified structural acrylic | Documented weather resistance and compatibility with the sheet coating |
| Nearly invisible clear bond | PC-qualified UV/visible-light-curing adhesive | Whether the required curing light can reach the entire bond through the actual sheet |
| Glazing seal or flexible sheet-to-frame connection | Exact-grade-compatible silicone or MS-polymer system | Sheet/coating approval and installation requirements; sealing is not automatically structural bonding |
Permabond’s polycarbonate guide supports the cyanoacrylate, epoxy, structural acrylic and light-curing routes. POLYVANTIS’s processing guide includes polyurethane, silicone and MS-polymer options for specified Lexan applications. Neither is blanket approval for every product in a family. For UV-stabilized plastic, Permabond specifically recommends UV/visible-light-curing grades rather than treating all UV adhesives as interchangeable.
For a loaded joint, avoid relying on a narrow, straight edge-to-edge repair. POLYVANTIS generally discourages straight butt joints and warns that even simple overlaps can introduce peel or cleavage stresses in thin sheet. Choose a joint that distributes the load rather than using adhesive strength alone to compensate for poor geometry. For safety-critical guards or glazing, follow the equipment or installation specification rather than improvising a glue-only repair.
Prepare and assemble without damaging the sheet
- Dry-fit without forcing the parts. Avoid press fits or clamps that bend the sheet into alignment. Permabond warns that interference fits can introduce stress that promotes cracking.
- Remove protective masking from the bond area. Check that the intended surface—not its removable film—will receive the adhesive.
- Wash gently with mild soap and lukewarm water. Use a soft, grit-free cloth, rinse thoroughly and dry. Keep polish and other appearance treatments out of the bonding area.
- Do not default to solvent cleaning or sanding. Permabond says clean, dry polycarbonate can be bonded as received. Use additional preparation only when approved for the exact sheet surface and adhesive.
- Apply the specified amount and bond-line thickness. For two-part products, follow the mix ratio and dispensing instructions. Assemble within working time and support the joint without distorting it.
- Follow the specified support and cure times. Handling strength is not permission to apply the full service load. Follow the product’s temperature-dependent cure schedule and safety-data-sheet controls.
The cleaning limits matter: POLYVANTIS’s cleaning instructions prohibit acetone and warn against MEK. They also prohibit alcohols on UV-protected surfaces of Lexan multiwall, corrugated and sign sheet. Although Permabond permits isopropanol for polycarbonate generally, that does not override the sheet-specific restriction. Likewise, do not assume an acrylic solvent cement is suitable unless it explicitly approves polycarbonate and your application.
Two documented examples—and their limits
For a tiny, close-fitting joint: Permabond recommends 940, a low-bloom cyanoacrylate, when polycarbonate appearance matters. Its manufacturer-hosted datasheet, revision August 2020, specifies a maximum gap of 0.05 mm (0.002 in) and 24 hours to full strength. It does not give a PC-specific handling time, so do not transfer its seconds-long figures for other materials to Lexan. Low bloom addresses appearance; it is not a guarantee against stress cracking. See the broader cyanoacrylate selection guide for joint-fit considerations.
For a hidden, flexible bond: Permabond lists MT3809 modified epoxy for polycarbonate. Its manufacturer-hosted datasheet, revision February 2018, specifies 10:1 by volume, 10–12 minutes usable life at 25°C (77°F), and at least 72 hours to full cure at 25°C. Its typical handling time is 25–30 minutes at 25°C, defined as reaching 0.1 N/mm² (0.1 MPa)—not full service strength. It cures charcoal black and is a low-viscosity potting product, so it is not a clear repair adhesive or an automatic choice for an unsupported vertical gap. Both examples are labeled for professional or industrial use; confirm the latest product instructions before use.
Before committing the finished part, test the selected adhesive on the same sheet grade, coated face, joint gap and second material. Allow full cure, then check adhesion, clarity and crazing under representative load and exposure—not merely whether the pieces stick initially.