
5 min read ·
Choose the Right CA Glue for Your Materials and Joint
Match cyanoacrylate glue to the substrates, joint gap and service conditions. Compare documented grades, avoid compatibility traps and allow proper cure time.
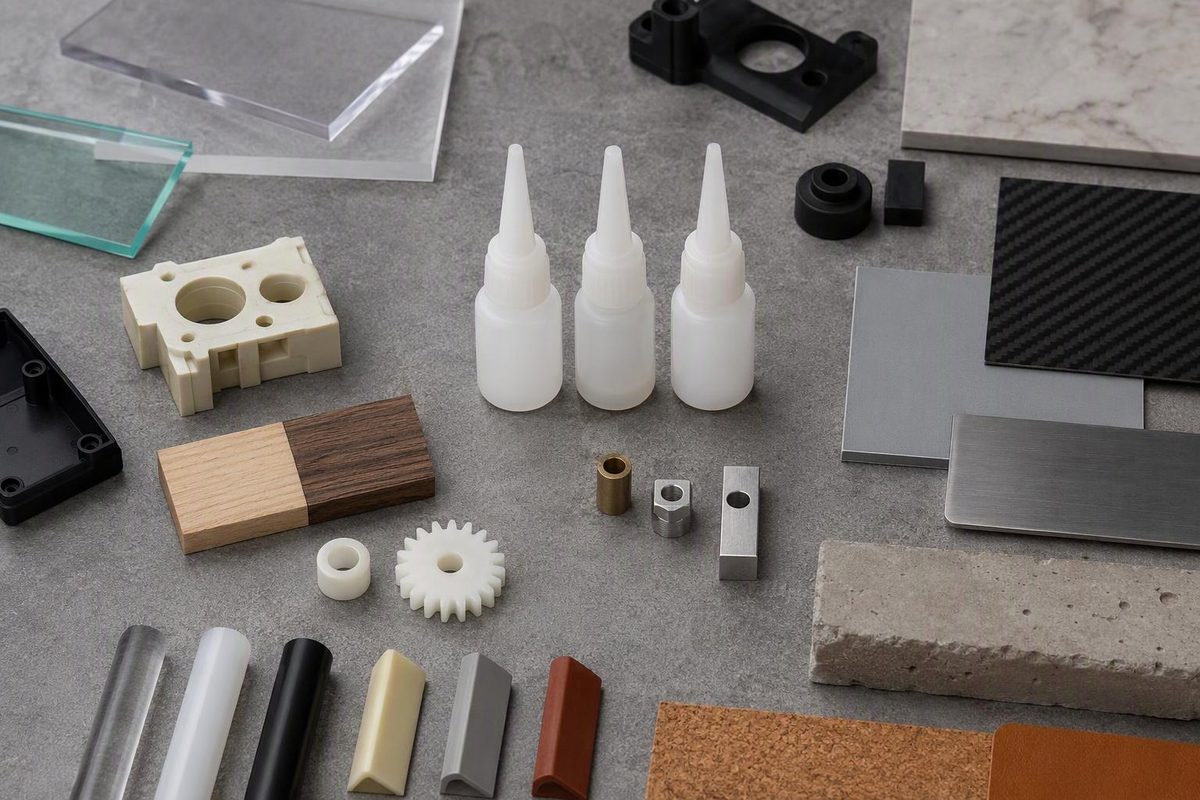
CA adhesive means cyanoacrylate—the adhesive family commonly called super glue or instant adhesive. Choose it for small, close-fitting parts that need rapid assembly. It is usually a one-part glue that cures through traces of moisture on the bonding surfaces, without mixing or heat. Gaps, impact, flexible joints and wet service require a specifically suitable grade, not just a bottle labeled “super glue.” Permabond’s cyanoacrylate guide explains the cure mechanism and specialized formulations.
Pick your material and main joint requirement to find the CA grade or compatibility check to investigate.
Find a CA Grade to Investigate
Investigate Thin, Low-Viscosity CA
For a close-fitting joint that needs wicking, investigate thin CA. Confirm compatibility with both surfaces and control unwanted spreading.
Measure the bond-line gap and check the chosen product’s limit. Thickness alone does not establish toughness or water resistance.
Documented Product Limits
| Product | Viscosity | Gap Fill |
|---|---|---|
| LOCTITE 401 | 100 mPa·s (cP) | 0.15 mm |
| Permabond 2011 | Gel | 0.5 mm maximum |
These are industrial or professional product examples, not limits for all CA adhesives. For DIY use, check a consumer-labeled product’s own instructions.
Sources: Permabond CA family guidance and glass technical note; Henkel LOCTITE 401 specifications checked October 2026; Permabond 2011 datasheet, November 2021 revision. Linked in the article. Results identify candidates, not verified bond performance.
Choose CA by Both Materials, Gap and Load
Identify both substrates, including any paint or coating, then dry-fit the parts. Check the actual bond-line gap—not just how wide the crack looks at its opening. Establish whether the joint will experience peeling, impact, movement, water or heat.
| Joint or Requirement | Grade to Investigate | Selection Check |
|---|---|---|
| Close fit; glue must wick into the joint | Thin, low-viscosity CA | Compatibility and spreading |
| Vertical repair | Non-sag gel | Documented gap limit |
| Porous or acidic surface | Substrate-suited, often surface-insensitive CA | Cure behavior; activator requirements |
| Impact or peel | Toughened CA | Data for actual materials and load |
| Visible repair | Low-bloom CA | Appearance test |
| PP, PE or PTFE | Documented CA-and-primer system | Ordinary CA alone is insufficient |
| Water or elevated temperature | Specifically qualified grade | Exposure and retained strength |
Permabond distinguishes wicking, gel, surface-insensitive, toughened, low-bloom and water-resistant grades in its product-family guidance linked above. These are separate properties: thicker glue is not necessarily tougher or more water-resistant. Gel is not an unlimited gap filler.
Two documented products illustrate why the grade matters:
| Product | Viscosity | Documented Gap Fill |
|---|---|---|
| LOCTITE 401 | 100 mPa·s (cP) | 0.15 mm |
| Permabond 2011 | Gel | 0.5 mm maximum |
The LOCTITE 401 specifications, checked in October 2026, supply the first row. The Permabond 2011 technical datasheet, revision dated November 2021, supplies the second. “2011” is the product designation, not the datasheet’s revision year.
Those limits belong to those products, not to every thin or gel CA adhesive. Both examples are labeled for industrial or professional use. For DIY work, choose a product labeled for consumer use and check its own instructions.
Plastic Resin and Stress Can Change the Choice
Identify the resin before selecting CA. Henkel specifies a primer system for bonding polypropylene (PP), polyethylene (PE) and PTFE with LOCTITE 401. That qualification does not establish that any CA combined with any primer will work. For PP, see the polypropylene adhesive selection guide.
Henkel’s 401 guidance also warns that uncured CA can cause stress cracking on stressed acrylic, polycarbonate and polysulfone. Test representative parts under representative stress, not just an unstressed scrap. A fast initial bond does not resolve that compatibility risk.
Porous Wood Needs a Substrate-Suited Grade
Select a grade explicitly suited to the porous material. Permabond 2011 is specified for vertical and porous substrates, including wood; that does not qualify it for every furniture joint.
For a substantial gap or a joint requiring more positioning time, consider another adhesive family. The metal epoxy guide and wood epoxy guide cover those selection questions.
Fast Grab Does Not Establish Glass-Bond Durability
Permabond warns that standard CA glass bonds can degrade because of curing stresses, brittleness and thermal-expansion differences. For a permanent glass repair, investigate a glass-qualified adhesive rather than treating a fast set as proof of durability. Its glass-bonding technical note explains these limitations.
Apply a Thin Bond Line and Hold the Alignment
- Dry-fit and arrange support. Know the final position before dispensing; there may be little time to adjust.
- Clean and dry both bond areas. Remove grease with a cleaner compatible with the substrates and finishes. Do not default to acetone on unknown plastic or paint. Abrade only where the material and adhesive instructions call for it.
- Apply any specified primer or accelerator. Follow the system’s sequence and drying instructions. A primer addresses adhesion; an accelerator addresses cure speed. They are not interchangeable.
- Dispense sparingly onto one surface. Use enough to wet the intended bond area, not a large puddle.
- Assemble promptly and hold still. Apply sufficient pressure to spread the adhesive into a thin film without disturbing alignment.
- Wait before loading. Keep the joint supported through fixture time and allow the specified strength-development period before service.
This sequence follows the Permabond 2011 application instructions in the datasheet cited above. The chosen product’s instructions take precedence.
Fixture Time Is Not Full Strength
A seconds-long handling time does not mean the joint is ready for its working load. Permabond 2011 lists 5–10 seconds fixture time on steel, Buna-N rubber and phenolic, but 24 hours to full strength.
Its datasheet notes that temperature, humidity, substrate and gap affect handling time. Do not apply those numbers to another grade or assume they describe a maximum-gap repair.
If setting is slow, check the gap, surface condition and product instructions before adding more glue. Use only a compatible accelerator; the CA accelerator guide covers selection and application.
White haze around a repair is often blooming, not evidence that the joint needs another coat. Henkel’s 401 troubleshooting guidance associates blooming with excess adhesive and recommends measures including less product, ventilation or a low-bloom grade.
Keep Liquid CA Away From Cotton and Protect Eyes
Use ventilation, eye protection and gloves specified by the product’s safety datasheet. Keep liquid CA away from cotton gloves, clothing and absorbent wiping materials: contact with cotton can generate enough heat to cause serious burns.
This hazard is documented in a clinical case report. A Permabond CA safety datasheet also warns against absorbent gloves and heat generation in spill-cleanup cloths.
Do not pull glued skin apart. For eye exposure, rinse with water for 15 minutes and obtain urgent poison-centre or medical guidance. Never force bonded eyelids open or use removal solvents in the eye. Poison Control’s super-glue advice provides exposure guidance.
Open Cold-Stored Glue Only After It Warms
Follow the bottle’s storage instructions and recap promptly. If cold storage is specified, allow the sealed container to reach room temperature before opening to avoid condensation inside. This is an explicit precaution in the Permabond 2011 datasheet; it is not a reason to refrigerate every CA product regardless of its label.