
5 min read ·
Match Your Rubber and Joint to the Right Adhesive
Match rubber type, joint fit and exposure to an adhesive family. Compare documented gap and cure limits, preparation steps and industrial-product restrictions.
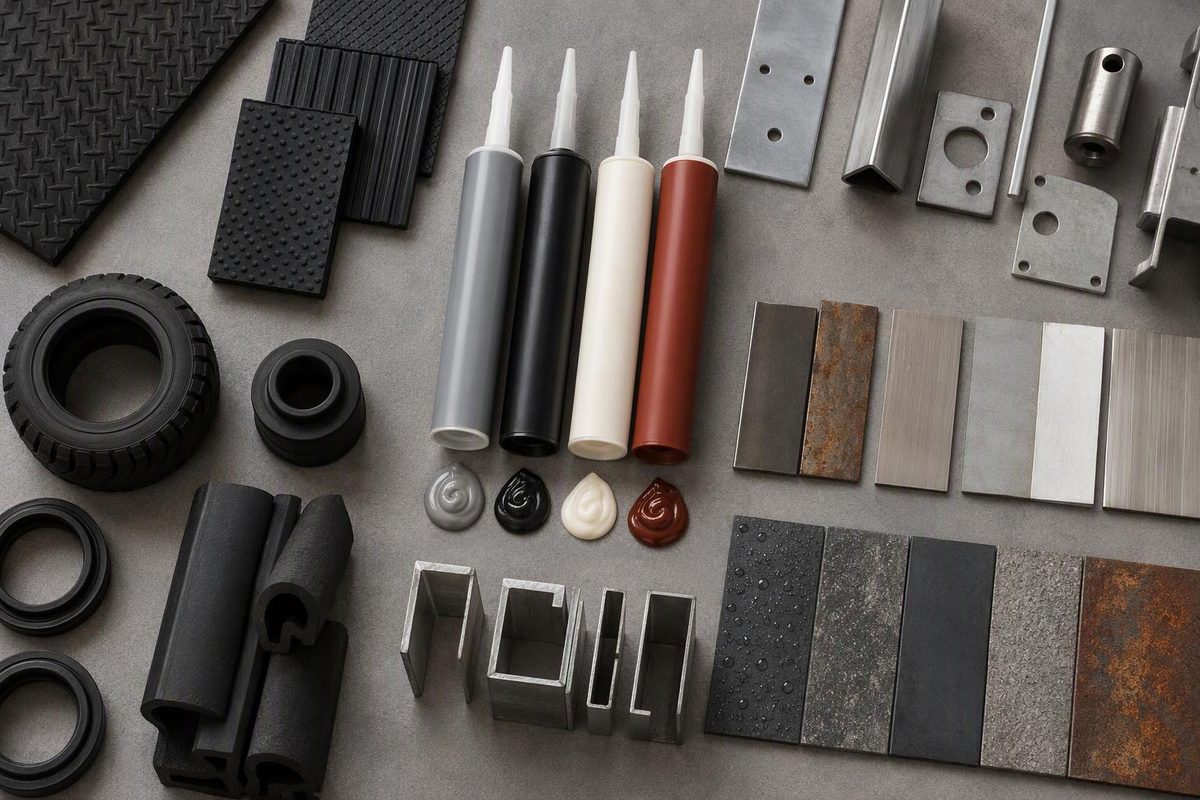
For broad rubber pads or gaskets on metal, start with a contact adhesive that explicitly lists your rubber. For small, close-fitting parts, consider a rubber-qualified cyanoacrylate. EPDM, silicone rubber, gaps and wet service need more specific selection: an adhesive that bonds neoprene is not automatically suitable for every rubber.
Select your rubber, joint and exposure to find an adhesive route and its limits.
Investigate a Contact Adhesive
3M 1300/1300L documents neoprene, SBR and butyl bonding to metal. Verify the metal finish and application conditions.
Limits: Numeric gap and full-cure figures: — in this comparison. Follow the selected product's instructions.
These examples are industrial/occupational products, not consumer recommendations. Confirm service temperature and chemical exposure separately.
Sources: 3M 1300 product page and 1300L datasheet (September 2024); Permabond 105 (September 2025), TA4610 (November 2023), EPDM and silicone guidance. — means not supplied here.
Identify the Rubber and the Actual Bonding Surface
Find the rubber specification from the part supplier: neoprene, nitrile/Buna-N, SBR, butyl, natural rubber, EPDM or silicone. Black color and flexibility do not identify the compound. If it is unknown, test spare material before committing to the repair.
Identify whether the bonding surface is bare steel, stainless steel, aluminum, galvanized metal, paint or powder coating. If a coating remains, the adhesive bonds to that coating—not directly to metal. A strong adhesive cannot compensate for a coating that separates from its substrate.
Measure the gap with the parts resting in their intended position. Do not rely on excessive clamping to flatten a distorted part. Distinguish a stationary gasket from a pad that stretches, vibrates or repeatedly lifts at its edges. Favor a broad overlap rather than a narrow edge attachment.
Record application temperature, continuous and peak service temperatures, sunlight, water, oil and cleaning chemicals. “Bonds rubber and metal” is a starting point, not evidence that a product suits those conditions.
A rubber-to-metal engine mount, suspension bush or other safety-critical assembly is not an ordinary glue repair. Molded assemblies can use heat-activated bonding systems during rubber curing; room-temperature repair glue does not reproduce that process. Replace such parts or follow an approved repair procedure. Timco’s manufacturing guide explains the molded-insert process.
Choose the Adhesive Family by Joint Type
| Joint or Condition | Route to Investigate | Main Limit |
|---|---|---|
| Broad, closely contacting neoprene, SBR or butyl pad | Rubber-and-gasket contact adhesive | Must list the exact rubber |
| Small, close-fitting rubber part | Rubber-qualified cyanoacrylate; flexible grade where needed | Little adjustment time; grade-specific gap limit |
| EPDM with a controlled gap or alignment needs | EPDM-qualified two-part structural acrylic | Verify metal finish, mixing and cure |
| Silicone rubber | Silicone-bonding system or specified primer-plus-cyanoacrylate system | Generic “rubber glue” claims are insufficient |
| Repeated flex, edge peel or prolonged wet service | Qualified flexible system tested in service conditions | Initial grip does not prove durability |
These routes reflect documented 3M rubber-and-gasket applications, Permabond’s EPDM guidance and silicone-bonding guidance. Permabond specifically warns that cyanoacrylates can degrade in water, especially hot water.
Do not default to epoxy simply because the second material is metal. Require documentation for the rubber compound and intended movement as well. The metal epoxy selection guide covers the metal side of that decision.
Prepare the Surfaces Without Damaging the Rubber or Finish
Dry-fit the parts, mark alignment and arrange clamps, tape or a roller before opening the adhesive. Contact bonds and fast cyanoacrylates leave little opportunity to correct placement.
Remove oil, dust, release agents and loose paint. Use a cleaner compatible with both the rubber and finish; test an inconspicuous area rather than assuming acetone or another strong solvent is harmless.
Prepare the metal as the chosen adhesive’s instructions specify. Some systems recommend light abrasion of aluminum or copper alloys. Remove the debris and allow cleaning solvent to evaporate. Do not strip a protective coating unless the bonding procedure calls for it. The Permabond 105 datasheet linked below gives preparation instructions for that grade; they are not a universal procedure for every adhesive.
Use only the specified primer. Primers are adhesive-system components, not interchangeable improvements. Permabond’s POP primer, for example, is intended for cyanoacrylates and does not improve epoxy or acrylic adhesion, according to its silicone-bonding guidance.
Apply and Cure According to the Adhesive System
Contact adhesive normally requires coatings on both surfaces and a drying stage before mating. Follow the product’s bonding window and pressure instructions rather than joining the parts while the adhesive is still wet.
Cyanoacrylate requires a small amount spread into a thin film. Check the grade’s gap limit: a close-fitting bond specification does not establish suitability for a thick adhesive layer.
Two-part acrylic requires the specified ratio and mixing nozzle. Assemble within its working time and keep the joint supported through the stated handling period.
For every system, separate handling strength from readiness for service. Wait for the specified cure before loading, flexing or exposing the joint to fluids. Use the schedule for the actual curing temperature, not just the headline time.
Read the label and safety data sheet for ventilation, ignition control, eye protection and suitable gloves. Solvent-based contact adhesives require particular attention to ignition sources.
Documented Products Show Why the Limits Matter
These are professional or industrial examples, not a consumer shopping list. Permabond labels both grades below for professional or industrial use only; 3M specifies industrial/occupational use, not consumer use. For a home repair, choose a consumer-labeled product with documented compatibility.
3M 1300/1300L: Contact Adhesives for Listed Rubbers
3M 1300/1300L contact adhesives are documented for bonding neoprene, SBR and butyl rubber to metal. The 1300 product page expressly excludes EPDM and TPO. Do not extend the listed compatibility to every rubber compound.
The September 2024 1300L datasheet specifies thin coatings on both surfaces, drying until no longer wet, then assembly within the bonding window with sufficient pressure. Immediate handling is not the same as final performance. See the 1300L application instructions. No numeric gap or full-cure figure for this contact adhesive is provided in the draft’s cited comparison.
Permabond 105: Cyanoacrylate With a Small Gap Limit
The September 2025 Permabond 105 technical datasheet lists natural rubber, EPDM and butyl rubber. It specifies a maximum gap of 0.1 mm (0.004 in) and 24 hours to full strength.
Published handling times are seconds, but vary with the surfaces and conditions. Silicone requires the specified POP primer. Neither fast handling nor primer use removes the need to check the joint’s movement and exposure requirements.
Permabond TA4610: EPDM Acrylic With Conflicting Cure Figures
The November 2023 Permabond TA4610 technical datasheet documents EPDM and metals, a 1:1 mixing ratio, and a maximum gap of 1 mm (0.04 in).
At 23°C (73°F), its curing table lists a 5–8-minute pot life, 40–50 minutes to handling strength and 48 hours to full cure. Its application directions instead state 24–36 hours to full cure.
Use the longer, 48-hour figure at 23°C for planning, and confirm any earlier loading with the manufacturer. Other temperatures can change cure speed.
Test the Actual Joint Before Committing
For an unfamiliar combination, make a small trial joint using the actual rubber, metal finish and preparation procedure. After full cure, test the expected edge lifting, flex and exposure—not just a straight pull.
Identify whether separation occurs within the rubber, within a coating or at the adhesive interface before changing adhesive. Rubber tearing does not, by itself, mean the adhesive was too weak.